Floor plan editor
Draw the plan of a space by hand, link each table or lounger to a bookable resource, and save the layout.
A floor plan shows a space as it really is, such as a pool deck with its loungers or a dining room with its tables. Your team uses it to see at a glance what is free and to book a spot, as described in Use the club calendar. This page shows how to build and change the plan by hand. To draw new objects with AI or to rebuild a plan from a picture, see AI tools for your floor plan.
1. Open the editor
- Turn on the Floor plan switch of the category, on the Resources tab of its Category settings. See Set up reservation categories.
- In Reservations, select the category. The plan appears under the calendar, below Floor plan.
- Select Edit floor plan.
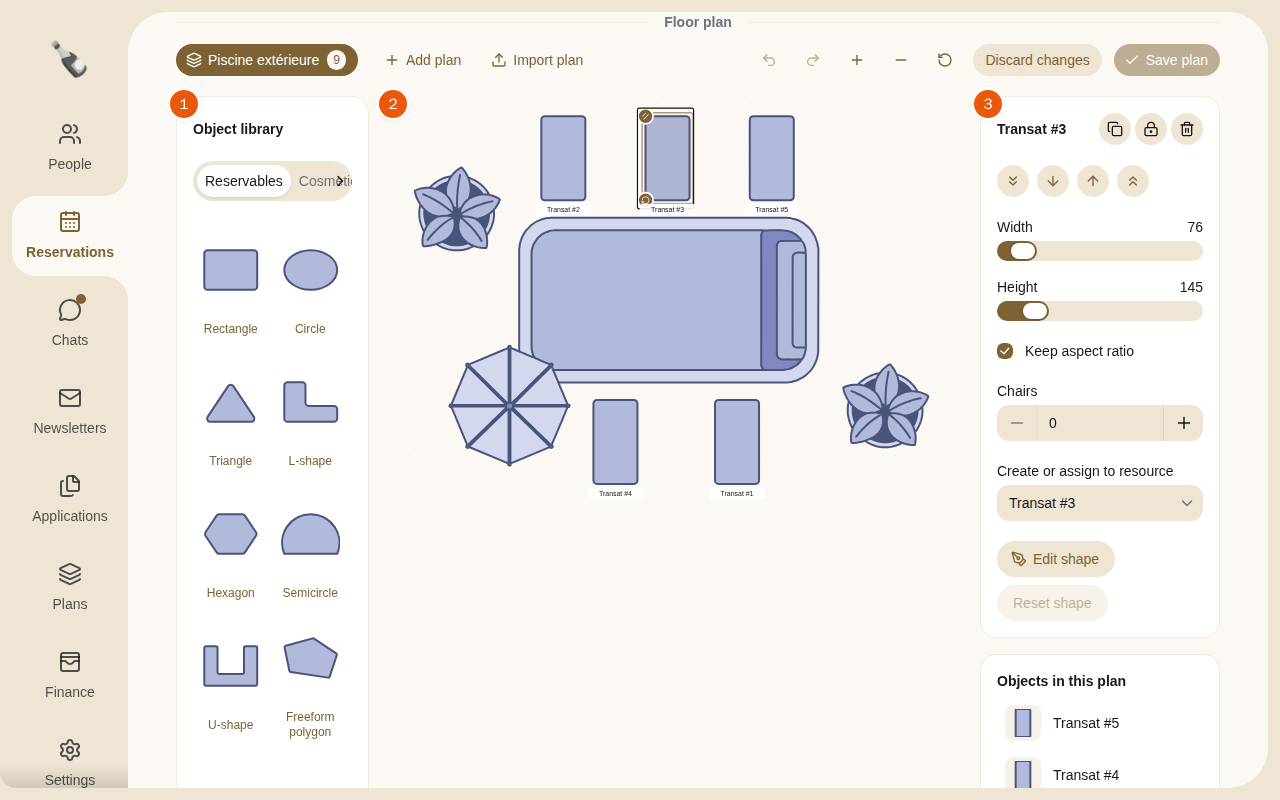
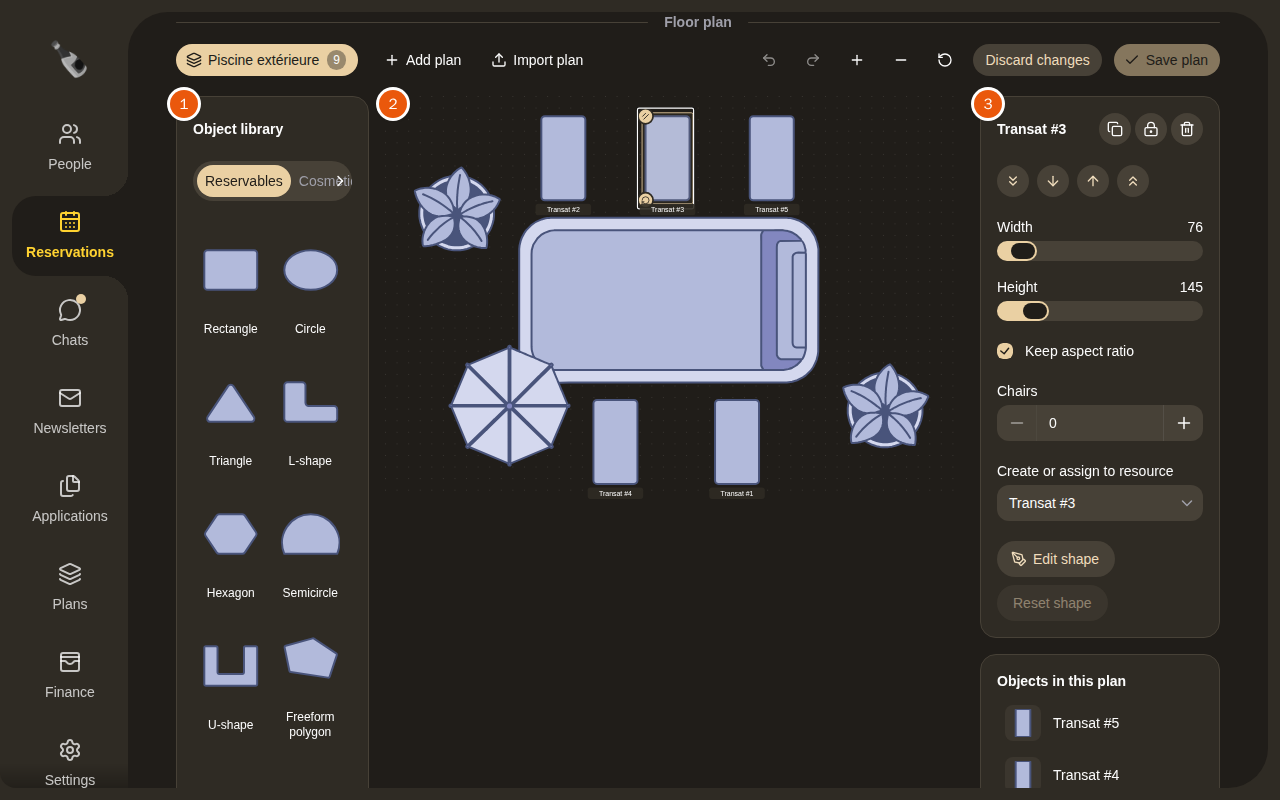
Editing the example pool plan of Place à la piscine, with the lounger Transat #3 selected. The numbers match the three parts listed below.
The editor has three parts:
- the Object library, on the left, with the objects you can place;
- the plan itself, in the middle;
- on the right, the settings of the selected object or of the plan, and Objects in this plan, the list of everything on it.
Nothing is kept until you select Save plan. Discard changes drops everything since your last save. Use Undo and Redo to step back and forth.
2. Place objects
The Object library has two tabs:
- Reservables: shapes that stand for something people book, such as a table, a lounger or a room: Rectangle, Circle, Triangle, L-shape, Hexagon, Semicircle, U-shape and Freeform polygon.
- Cosmetic: decorative objects, such as plants, doors and other scenery.
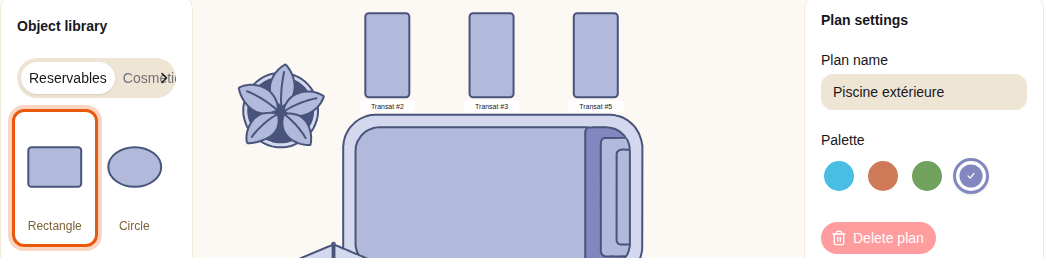
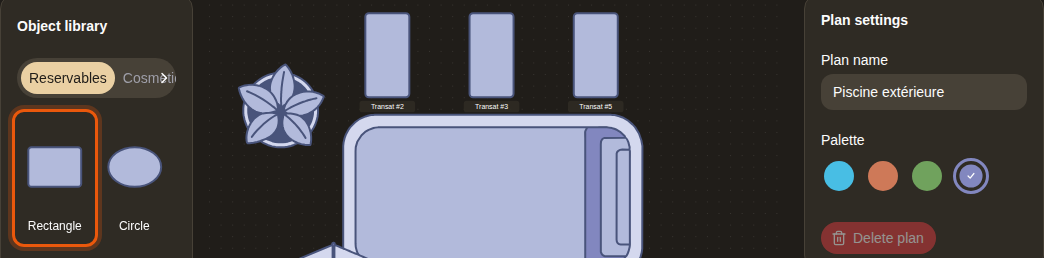
The Object library of the example pool plan. The control to use is outlined in orange.
To place an object, drag it from the library onto the plan. You can also select it in the library, then click the spot on the plan. Press Escape to cancel.
A plan holds up to 200 objects.
3. Move and arrange objects
- Select an object by clicking it on the plan or in Objects in this plan. Its name and settings appear on the right.
- Move it by dragging it.
- Rotate it with the handle at its top right corner, and resize it with the handle at its bottom right corner.
- Width and Height change the size of a reservable shape. Untick Keep aspect ratio to change one without the other. Decorative objects have a Scale slider.
- The four arrow buttons set the Layer order: Send to back, Send backward, Bring forward and Bring to front. Use them when objects overlap.
The buttons next to the object's name Duplicate selection, Lock or unlock selection and Remove from plan. A locked object cannot be moved or changed. If you remove a selection that includes locked objects, Champagne asks Remove locked objects?: select Remove from plan to confirm.
| Shortcut | Action |
|---|---|
| Delete or Backspace | Remove the selection. |
| Escape | Clear the selection. |
| Ctrl+Z (Cmd+Z on a Mac) | Undo. |
| Ctrl+Shift+Z or Ctrl+Y | Redo. |
| Ctrl+D (Cmd+D on a Mac) | Duplicate the selection. |
To look around, use the Zoom in and Zoom out buttons above the plan, or hold Shift and turn the mouse wheel. To move around, hold Shift and drag the plan, or drag with the middle mouse button. Dragging an empty part of the plan without Shift selects every object inside the box you draw. Reset view fits the whole plan on screen.
4. Link an object to a resource
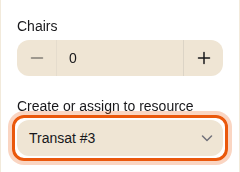
A reservable shape can be booked once it is linked to a resource of the category. Select it, then choose in Create or assign to resource:
- an existing resource, such as Transat #3;
- Create a new resource: a new resource is created when the plan is saved;
- No booking binding: the shape stays on the plan without being bookable.
In a category with a floor plan, resources are added and removed this way, from the plan.
5. Add chairs to a table
For a table, set the number of Chairs around the shape, up to 16. The chairs are placed around the edge. To place them yourself, drag a chair along the edge of the selected shape.
6. Change the outline of a shape
To give a shape its exact outline, select it and select Edit shape.
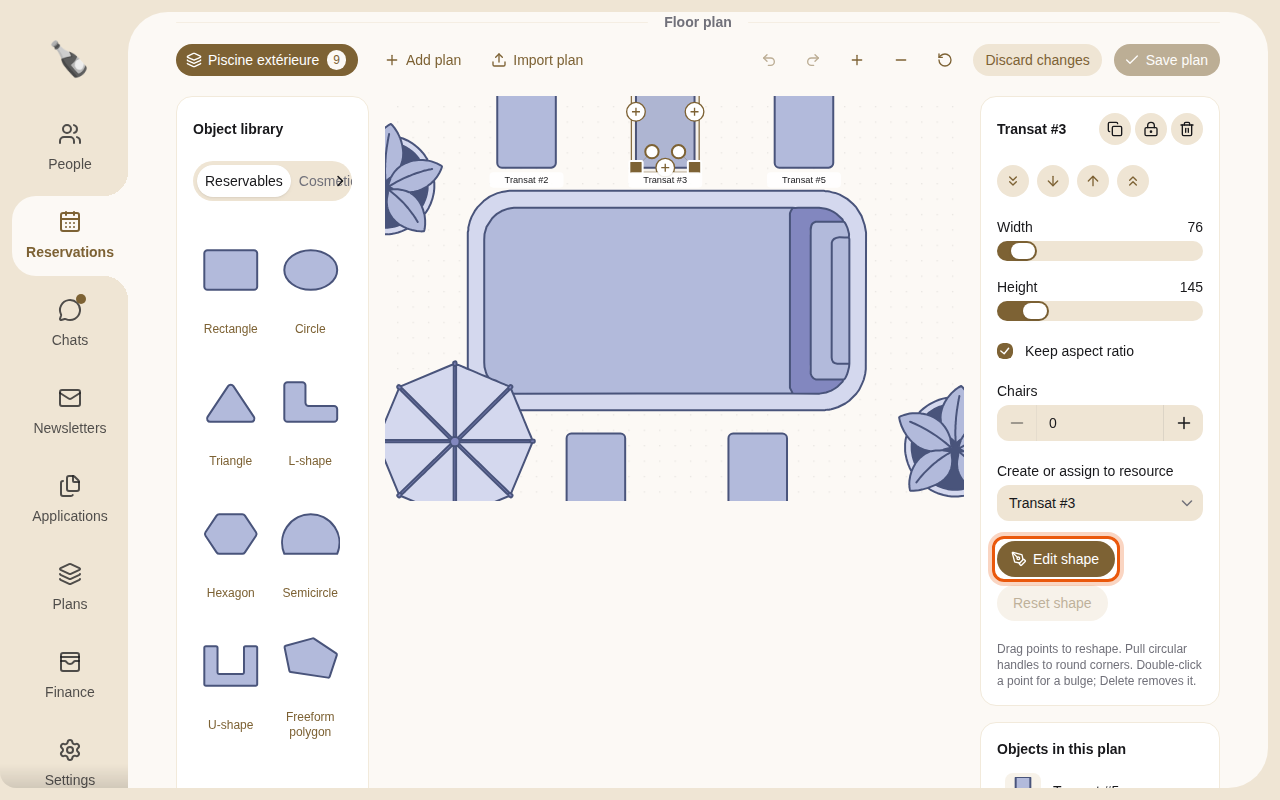
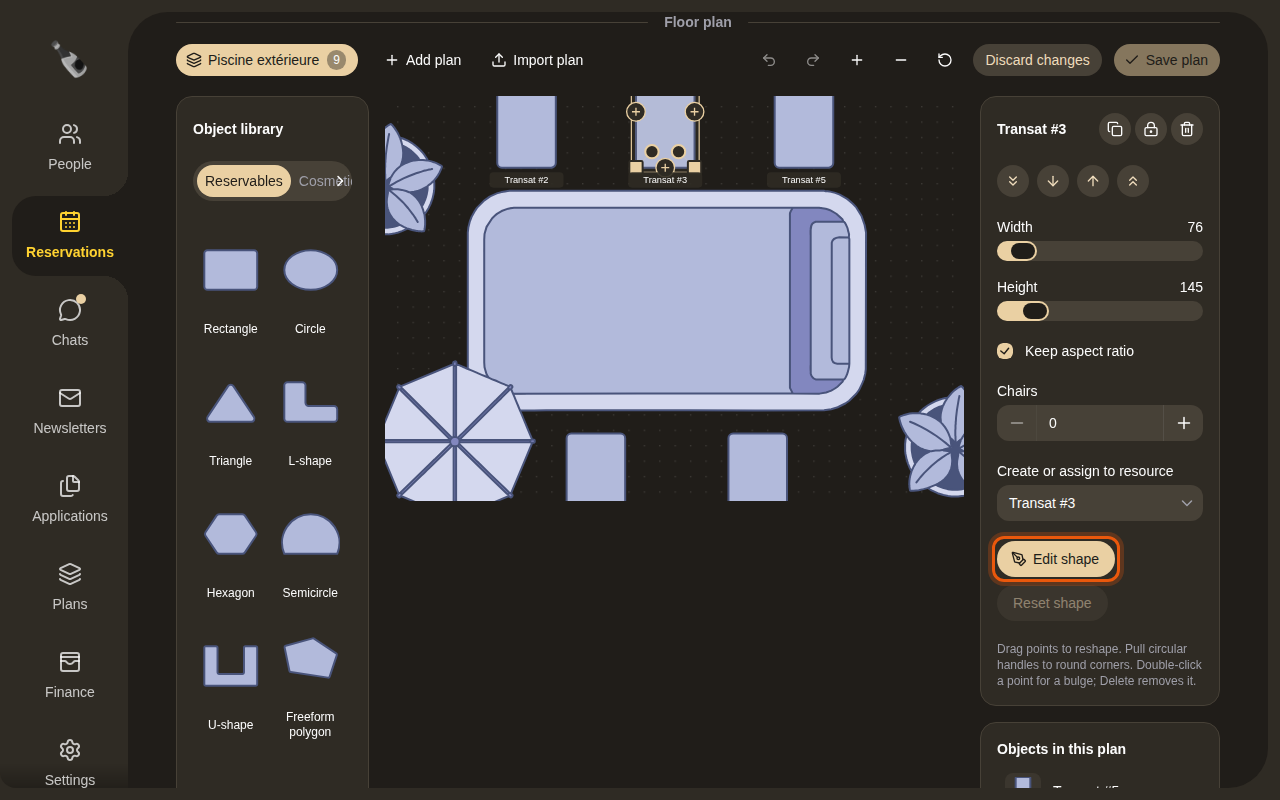
Reshaping the example lounger Transat #3. The control to use is outlined in orange.
- Drag a point to move it.
- Select a + button on a side to add a point there.
- Pull a round handle to round a corner.
- Double-click a point to add a bulge. Press Delete to remove the selected point.
Select Edit shape again when you are done. Reset shape brings back the original outline. It keeps the position, size and rotation.
7. Manage several plans
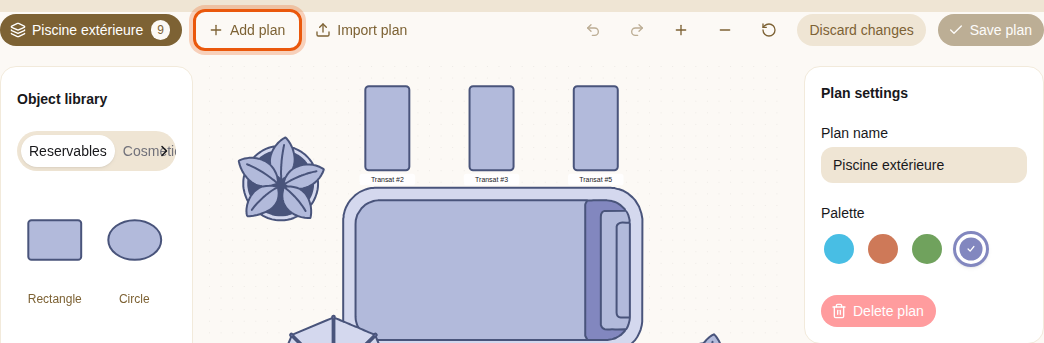
A category can have several plans, for example one per floor or a terrace and an indoor room. Their names are shown above the editor, with the number of objects on each.
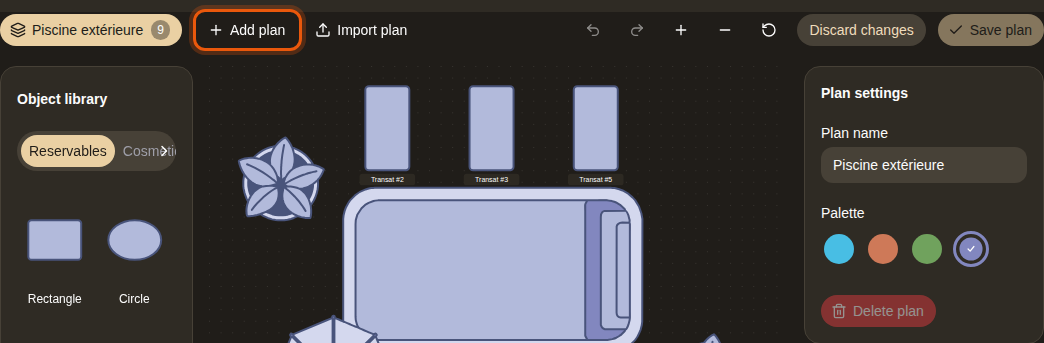
- Select Add plan to create one, and select a plan's name to open it.
- With nothing selected, the right side shows Plan settings: the Plan name and its Palette of colors, such as Lagoon, Terracotta, Grove or Dusk.
- Delete plan removes a plan and its objects. Reservations are kept. The first plan cannot be deleted.
8. Save the plan
Select Save plan. The plan is then shown to your team in the Club calendar, with each linked object showing whether it is free.
Each save is recorded in the History of the colleague who made it. See Manage your team.