Application forms
Build the forms people fill in to join your club, and choose what they complete once accepted.
People join your club by filling in an application form. In Champagne, each form is called an onboarding. You can have several, for example one for regular members and one for founding members, each with its own questions and plans. You set them up from the Applications section.
To read and decide on the applications you receive, see Review applications.
1. Open your forms
In the left menu, select Applications, then Manage onboardings. Each card shows a form's name and description, with its Onboarding ID, the code that identifies it. Select Copy ID to copy it, for example for the developer of your website.
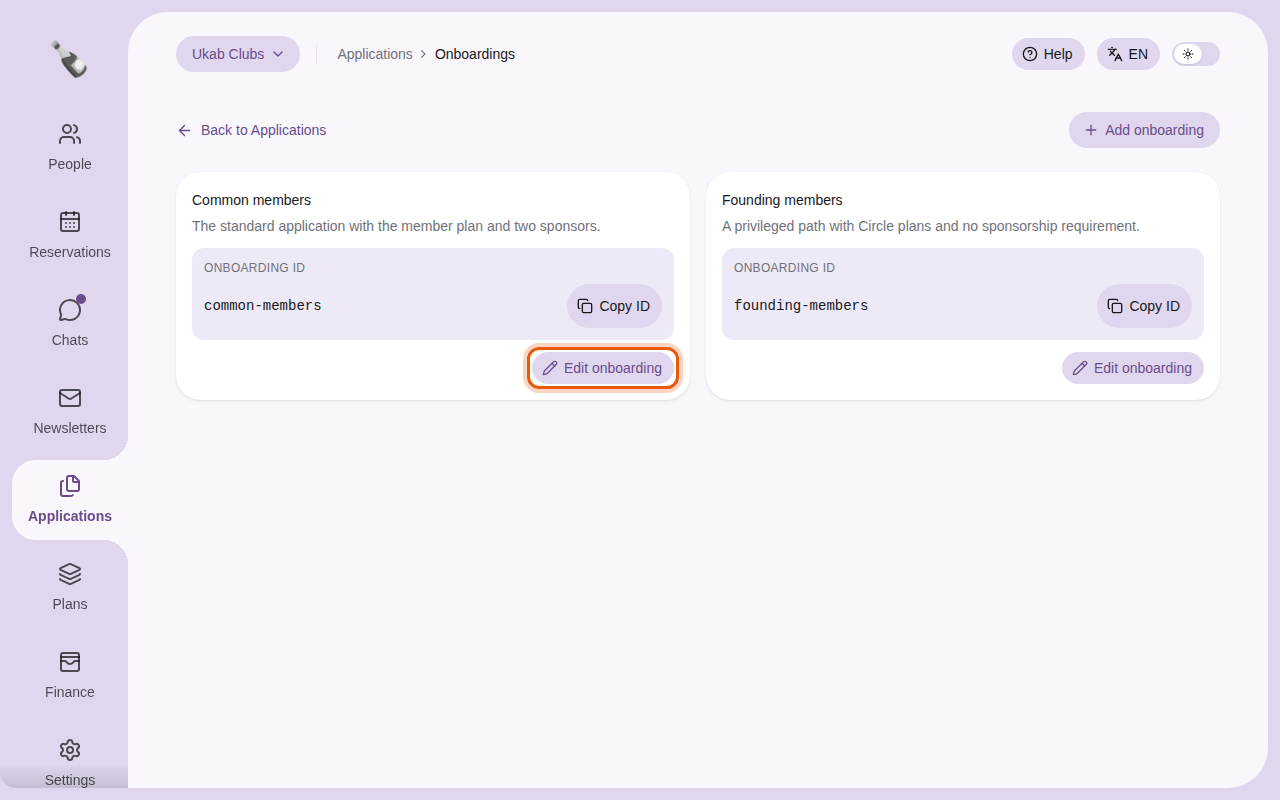
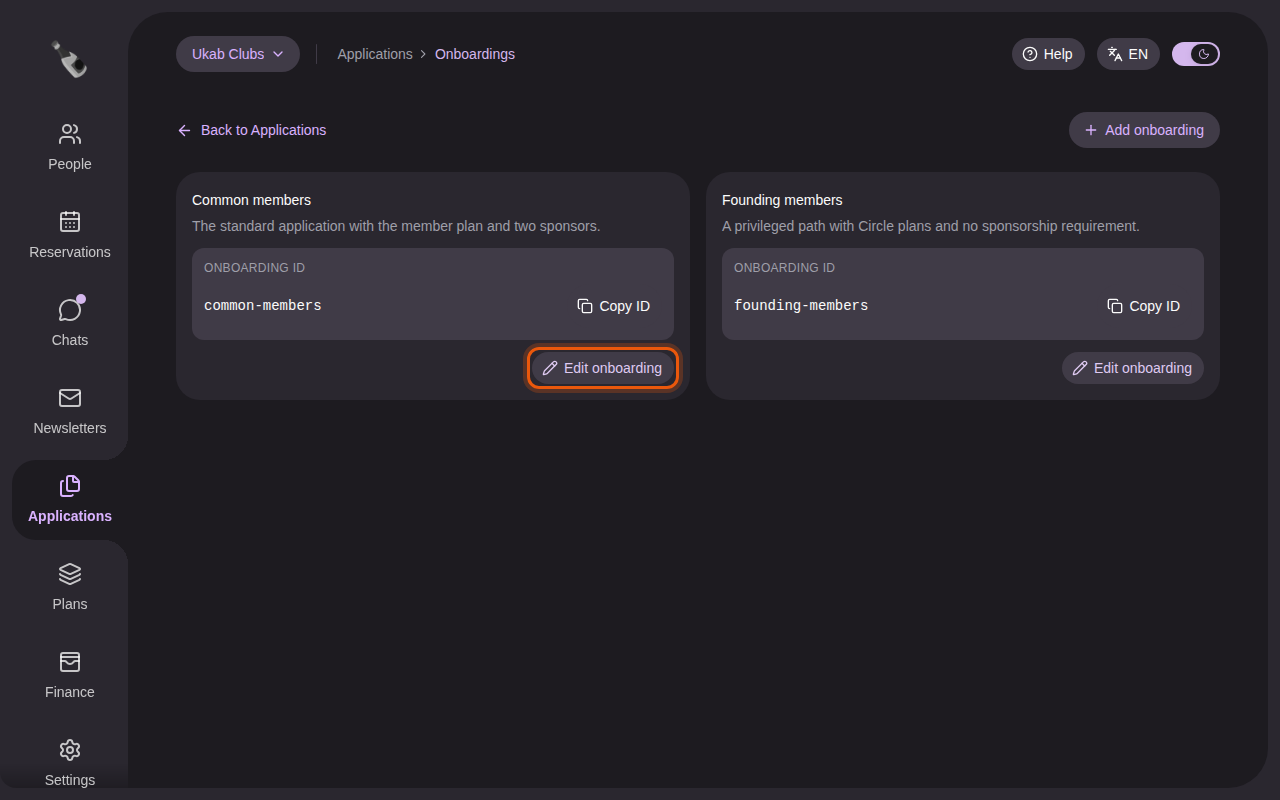
- To change a form, select Edit onboarding on its card.
- To create one, select Add onboarding, type a Name your staff will recognize and a Description of who should use it, then select Create onboarding. The new form opens.
Back to onboardings, at the top of a form, takes you back to the list. If a form shows Onboarding or club unavailable, it may have been removed or may belong to another club: check the club selected at the top left.
2. Name the form and its hosted page
The top of the form holds two cards.
- Onboarding settings: the Name and Description applicants see when they choose how to join.
- Hosted application settings: Champagne can publish the form on a ready-made, branded page. Turn on the switch, then choose a Font (Modern, Classic or Editorial) and a Primary color. The card gives the address of the page, which goes live once you save.
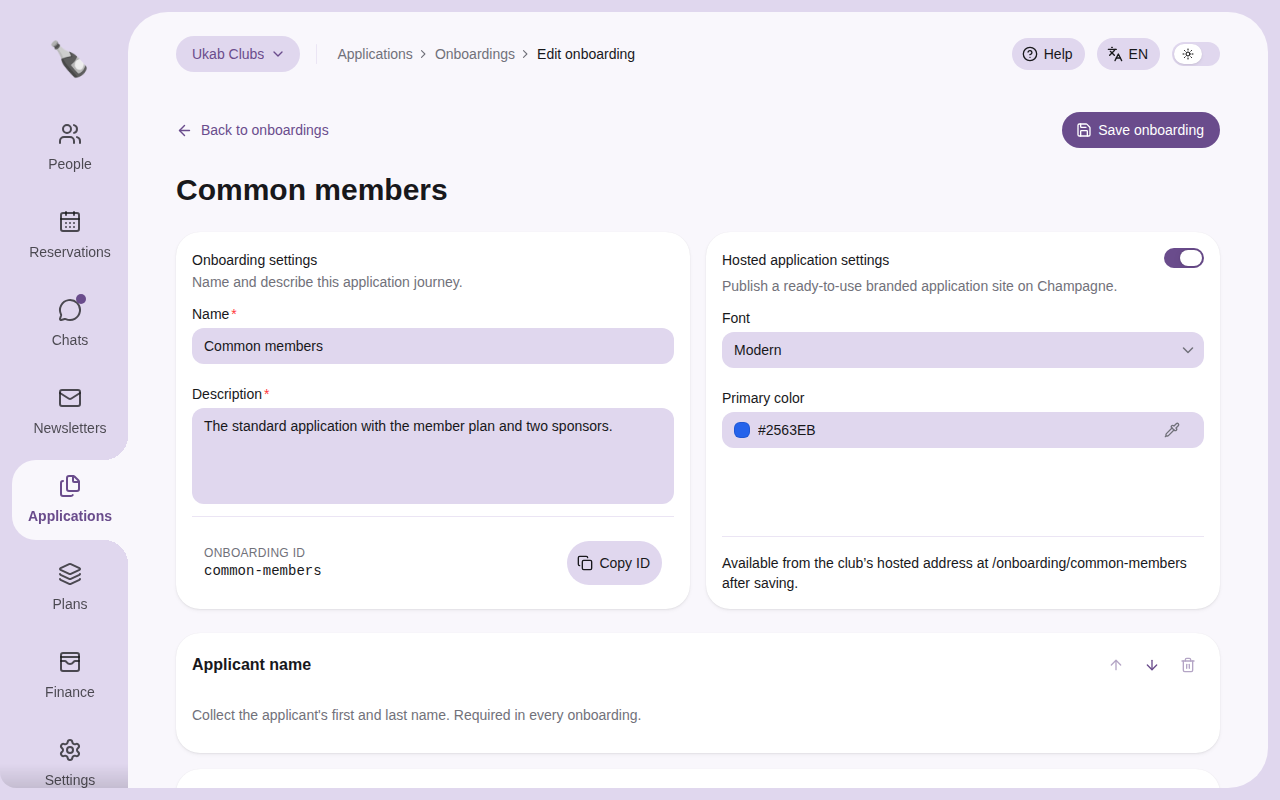
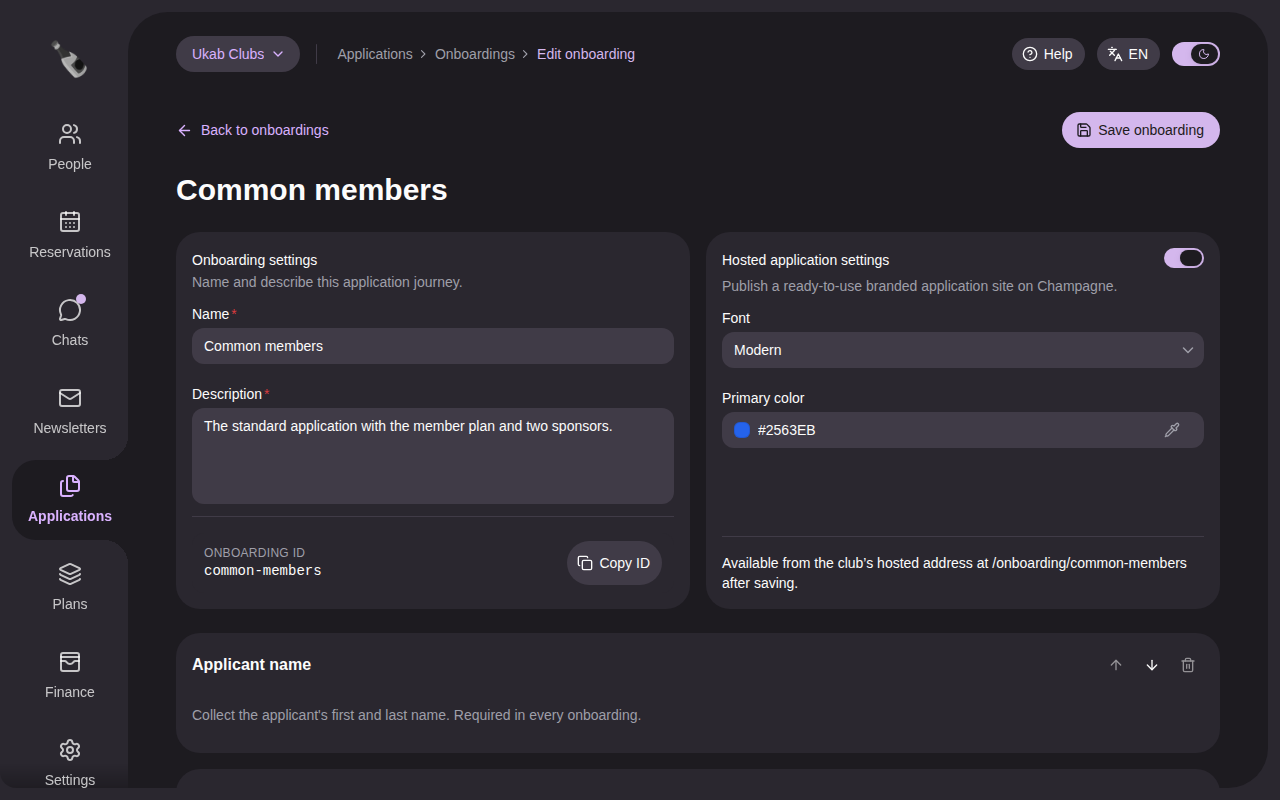
The example form Common members of Ukab Clubs, published on a hosted page.
To set up the rest of your club's website, see Your club's website.
3. Build the questions
Below the settings, the form is a list of blocks, shown to applicants in this order. Use the arrows on a block to move it up or down, and the bin to remove it.
To add a block, use the buttons right below the blocks, above the After approval card. A form holds up to 50 blocks.
| Block | What the applicant does |
|---|---|
| Applicant name | Types their first and last name. Every form has it. |
| Email verification | Types their email address, then a code sent to it. Every form has it. |
| Question | Answers a question you write. |
| Applicant address | Types their postal address. It is copied to their profile. |
| Plan selection | Picks one of the membership plans you tick in the block. |
| Phone verification | Types their mobile number, then a code texted to it. It is copied to their profile. Always required. |
| Identity verification | Verifies an ID document with Stripe Identity, as described in step 4. |
| Visit booking | Books a free visit, as described in step 4. |
| Sponsorship | Types the sponsor codes club members gave them. You set the Number of sponsors. |
Applicant address, Plan selection, Phone verification, Identity verification, Visit booking and Sponsorship can each be added once. Identity verification only appears once Stripe Identity is set up for Champagne. Place Identity verification and Visit booking below Applicant name and Email verification: the arrows cannot move them above.
Applicant address, Phone verification, Identity verification and Visit booking can be asked either here, before approval, or in the After approval card, but not both: a block already added here is greyed out there with Already asked before approval., and the other way round. A visit booked before approval is moved to the new member's profile when you accept the application, and canceled when you reject it.
In a Plan selection block, tick the plans applicants can choose under Plans included in onboarding. Other plans remain available to members once they have joined. If your club has no plan yet, the block shows No plans are available for this club. Add a plan first.: see Plans and pricing.
For each Question:
- Type its Title, for example "Why would you like to join?".
- Choose its Type: Short answer for a line of text, Long answer for a paragraph, or Options for a choice between 2 and 20 answers you type.
- In Saves to, choose where the answer goes. Application only keeps it with the application. A field from Person fields, such as Phone or Date of birth, or one of your Member attributes copies the answer to the new member's profile. Each field can receive one question only.
- Tick Required if the applicant must answer.
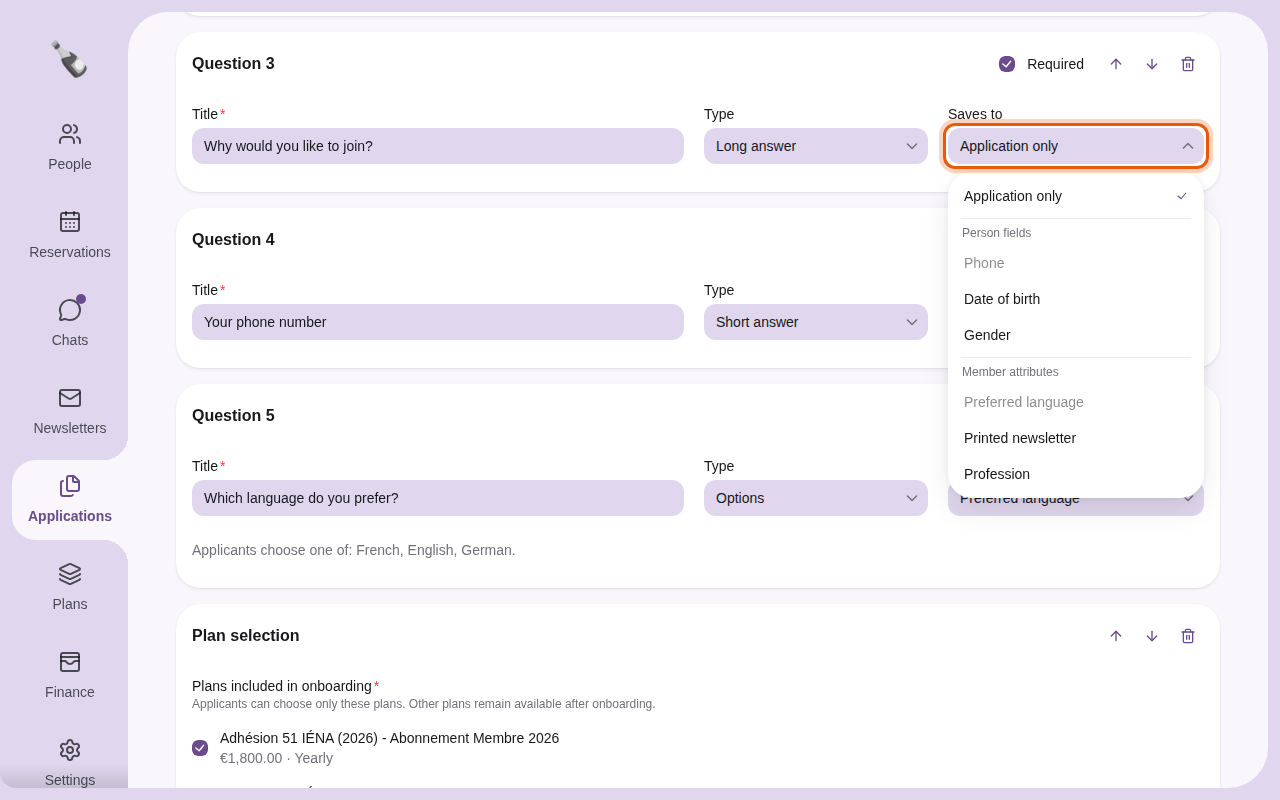
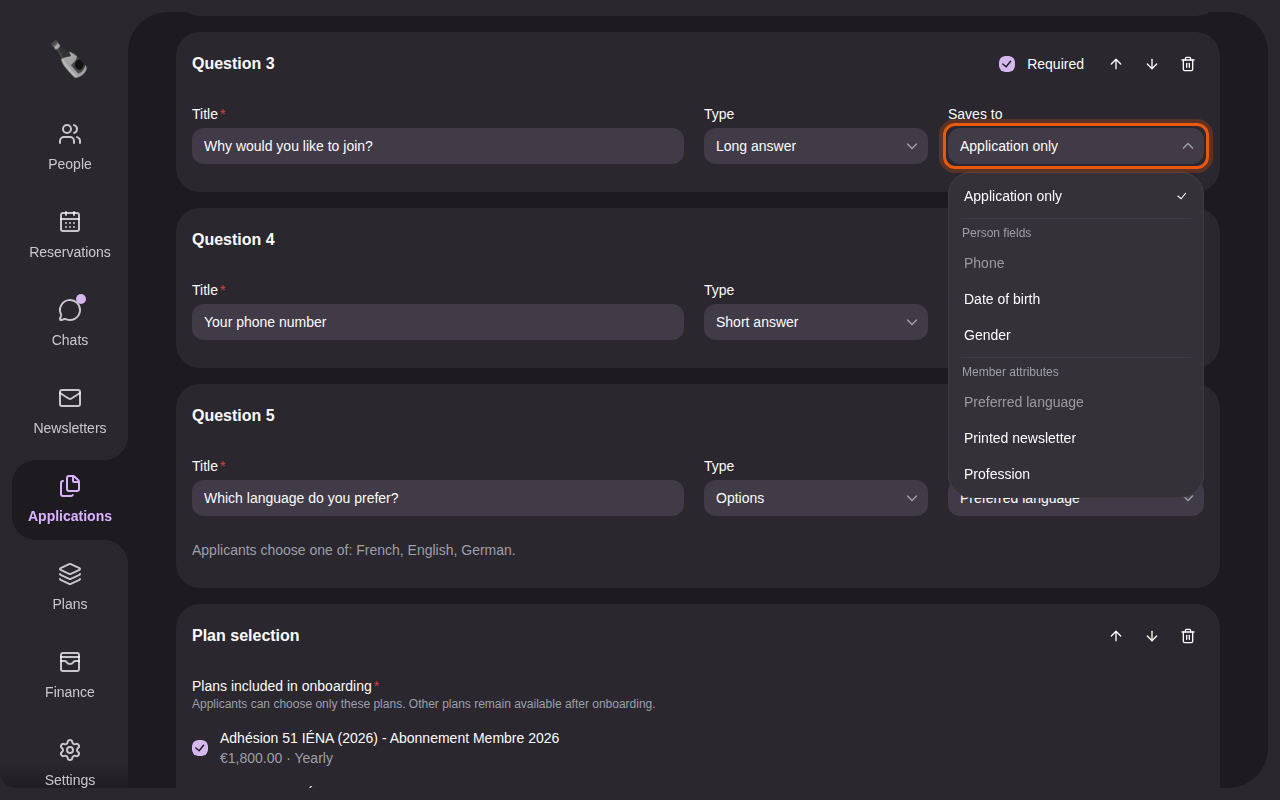
The questions of the example form Common members, with the Saves to list open. The control to use is outlined in orange.
When a question saves to a field with fixed answers, such as Gender, the applicant chooses among that field's answers, listed under the question.
4. Choose the steps after approval
The After approval card lists what accepted applicants still complete, from the link in their approval email.
-
Collect plan payment: the applicant pays the plan they picked. This needs a Plan selection block in the form: without one, the option is greyed out and marked Plan selection required.
-
Require a document signature: the applicant signs a PDF online, such as your club rules. Select Upload PDF to add the document, up to 2 MB. If you try to save without a document, the option shows Document required. If the file is refused, a Document upload failed message gives the reason, for example a file that is not a valid PDF or is too large. Choose another file and try again.
-
Collect the applicant's address: the applicant types their postal address, which is saved to their profile at once.
-
Verify the applicant's identity: the applicant photographs an ID card, passport or driving licence with Stripe Identity, which checks that the document is genuine and not expired. Set the checks below the option:
- Minimum age: compared with the date of birth on the document, 18 by default. Enter 0 to skip the age check.
- Require a selfie: Stripe compares the applicant's face with the document photo.
- Require the name to match: the name on the document must contain the first and last name given in the application. Middle names on the document are accepted.
The option only appears once Stripe Identity is set up for Champagne. If a form already has this step and Stripe Identity is no longer available, the option says so: untick it to save the form. Champagne keeps only the result of each check and the date of birth, never the photos or the document number.
-
Verify the applicant's phone: the applicant confirms a mobile number with a texted code, which is saved to their profile at once.
-
Book a visit: the applicant picks a time in a reservation category, for example a discovery visit, and can change or cancel it until they continue. Choose the Reservation category: only categories booked by time slot are listed, and categories with prices cannot be chosen, because onboarding never takes payment. Turn off Required to let applicants skip the step. Turn on Book only through onboarding in the category options to hide the category from members. The booking follows the category's opening hours, notice and capacity, appears in the planning, and the application shows the booked visit with a link to the reservation. Accepted applicants complete these steps in this order: payment, signature, address, identity, phone, then visit.
-
Applicant continuation URL: leave it empty to keep these steps on Champagne. Fill it in only if your own website takes over after approval.
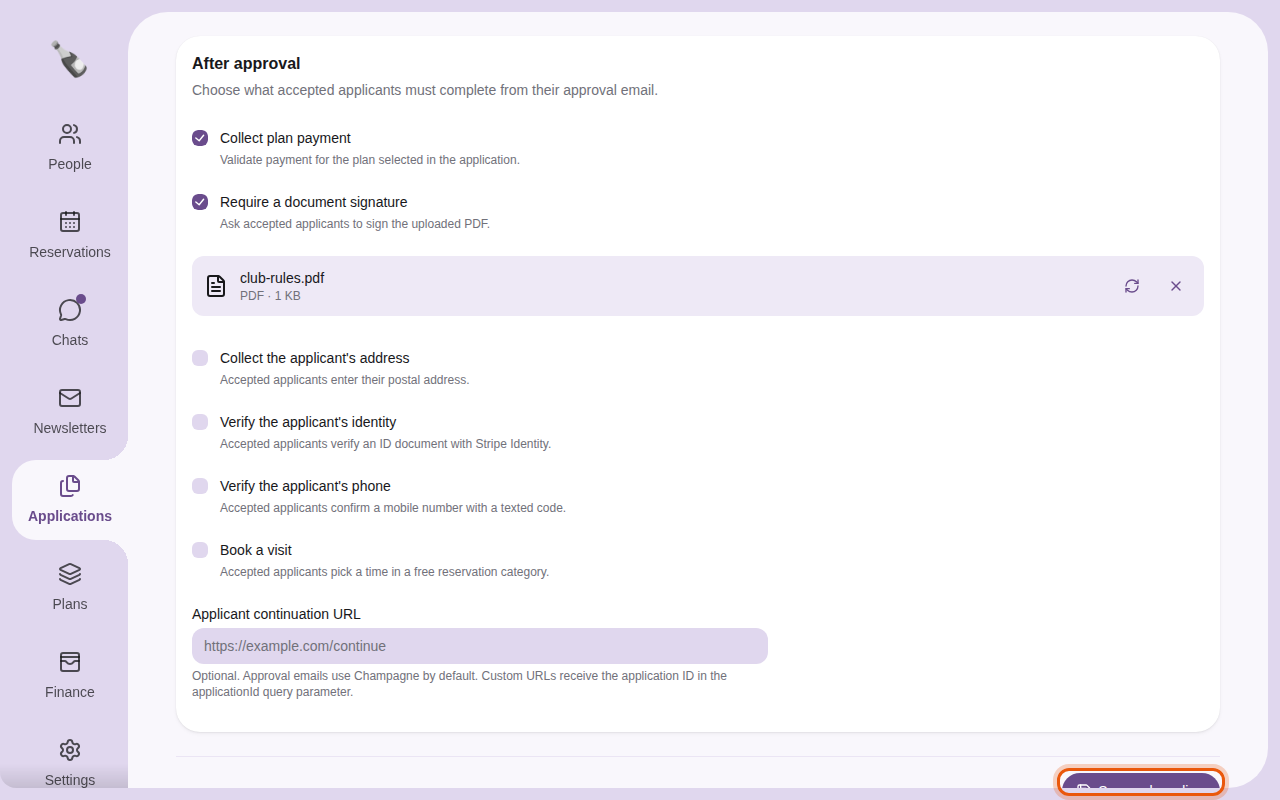
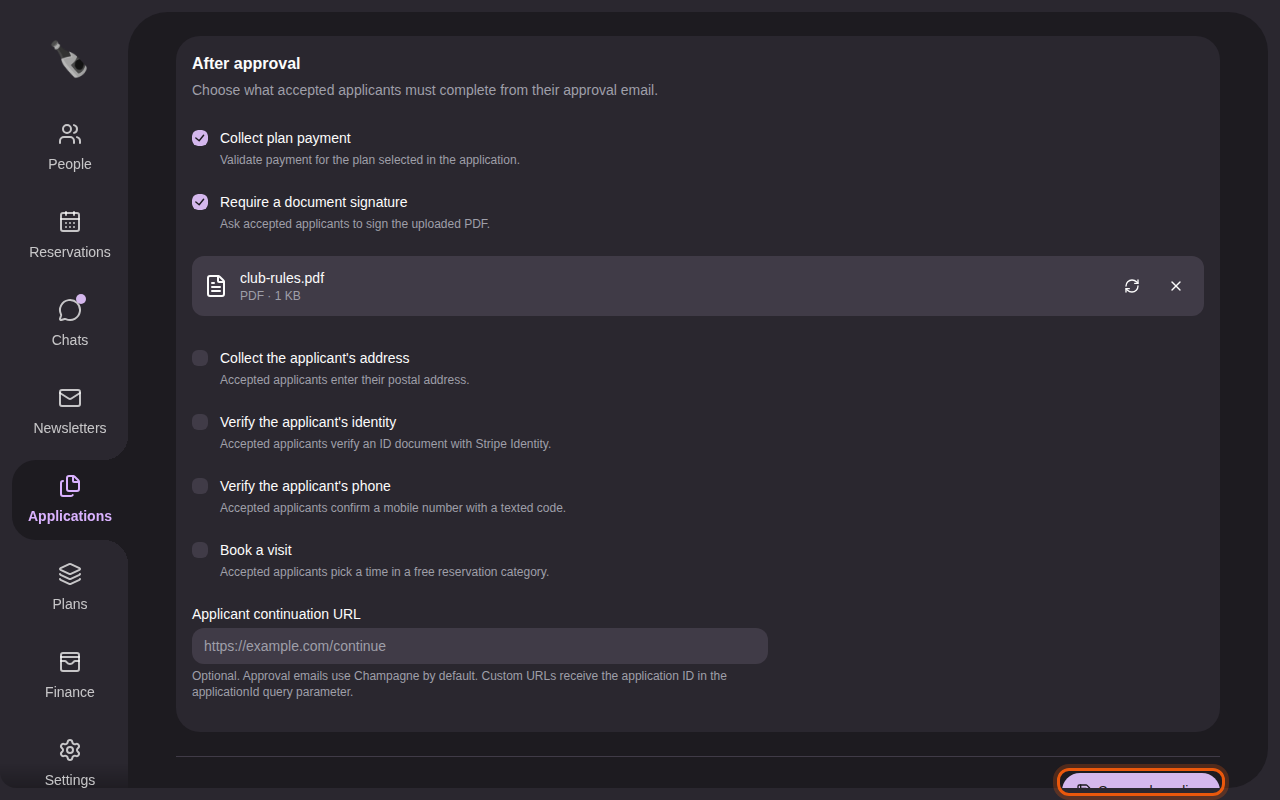
The example form asks accepted applicants to pay their plan and sign the club rules.
5. Save the form
Select Save onboarding. Until then, the page shows Unsaved changes next to the form's name, and Champagne asks before you leave the page. Saving takes you back to your forms.
Editing as a team
If a colleague saves the same form while you edit it, a This onboarding changed window opens. Select Reload to load their version, or Keep editing to go on with yours: saving then replaces their version.
What applicants see
Applicants pick a form on your club's page and fill it in one step at a time. See Find a club and apply and Complete and sign your application. The plans they can choose come from Plans and pricing.