Set up reservation categories
Create what members can book and decide when, for how long and how far ahead they can book it.
Everything members can book is organized in reservation categories, such as a restaurant, hotel suites, tennis lessons or a yoga class. Each thing that can be booked in a category, such as a table, a suite or a coach, is a resource. This page shows how to create a category and set its booking rules. To price resources and sell products, see Resources, prices and products. To schedule group sessions, see Sessions, guest lists and blocked periods.
You work from the Reservations section. The buttons used here only appear if your role lets you change categories.
1. Create a category
In the left menu, select Reservations, then the + button at the end of the category strip. When your club has no category yet, the page shows No reservation categories yet.
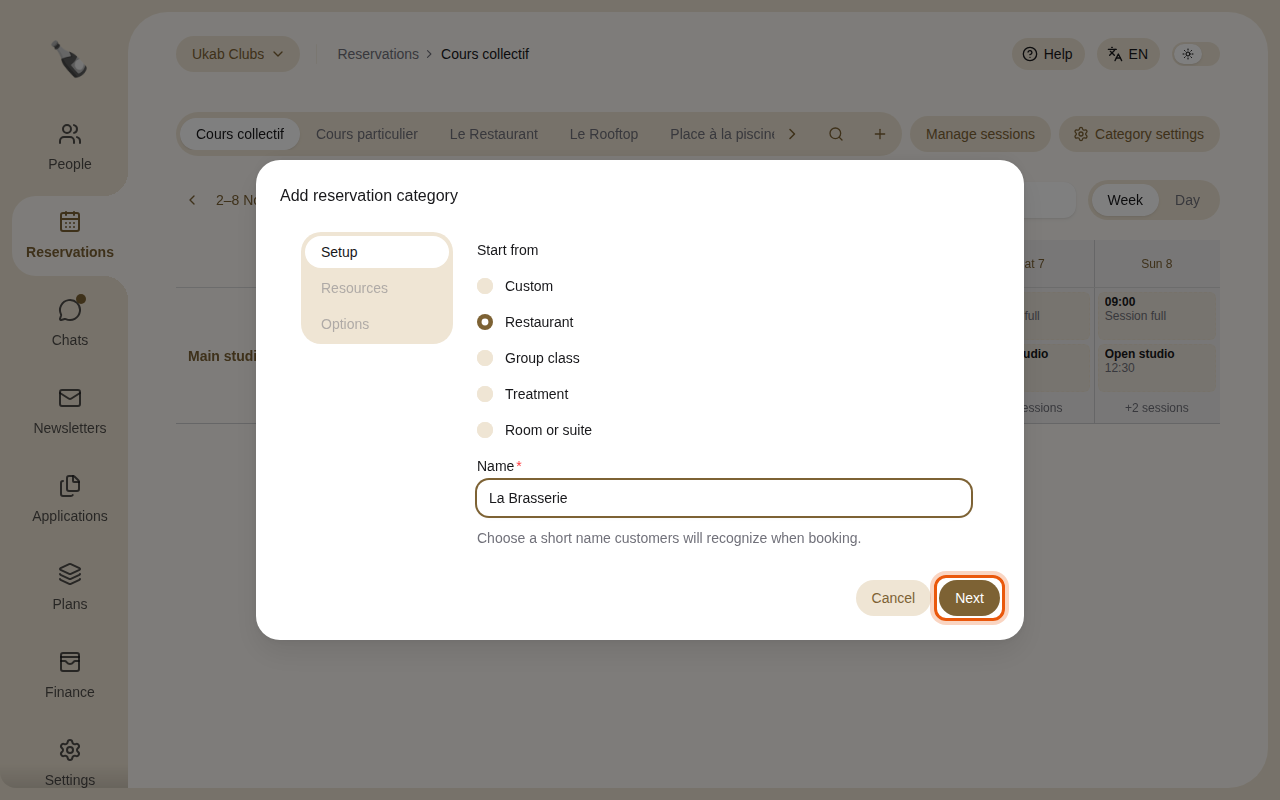
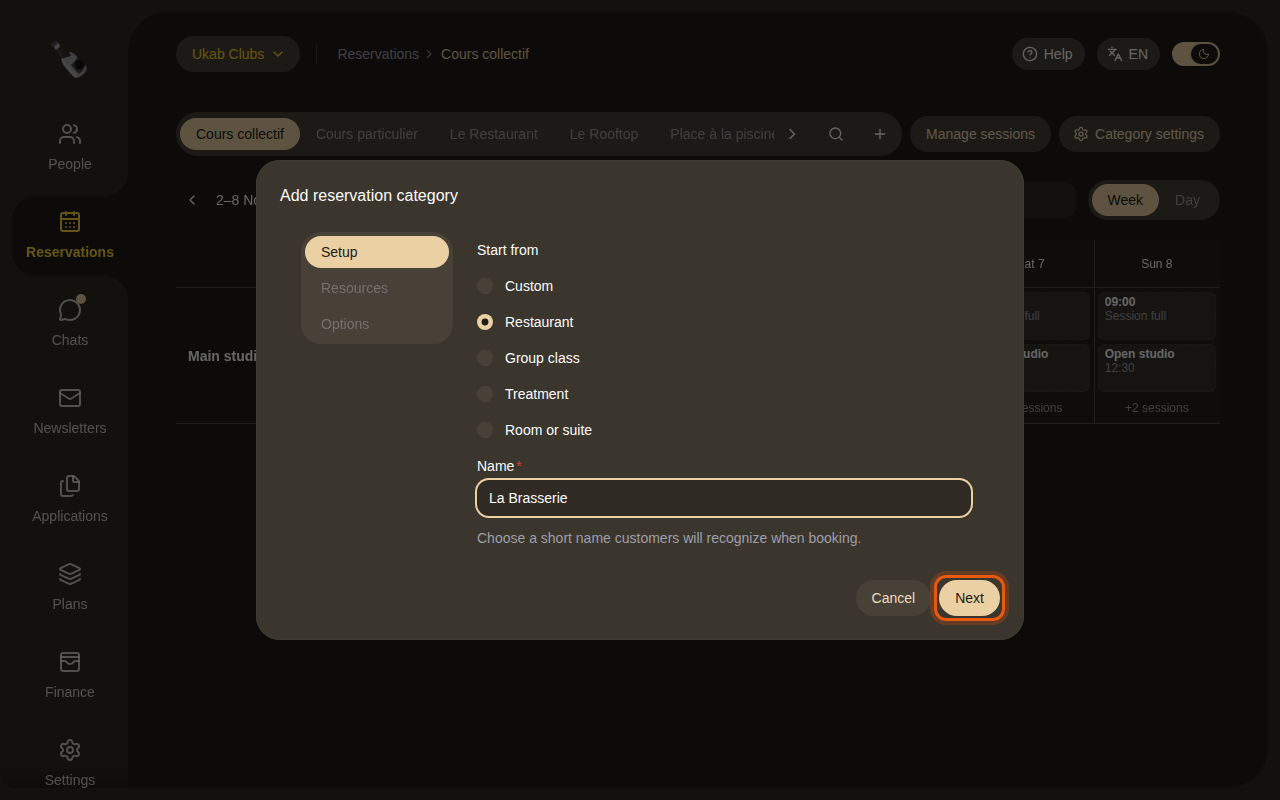
Starting an example restaurant category, La Brasserie. The control to use is outlined in orange.
-
Setup: choose what to Start from. Each starting point fills in sensible settings that you can change later.
Start from What it prepares Custom Nothing: you choose every setting. Restaurant Booking by party size, 2-hour bookings starting every 30 minutes, bookable up to 60 days ahead with 60 minutes' notice, a waitlist, and lunch and dinner opening hours. Group class Booking by session, with a QR code ticket. Treatment 1-hour bookings with 2 hours' notice, customer sheets and opening hours from 09:00 to 19:00, Monday to Saturday. Room or suite Housekeeping checklists for each room. Then type a Name customers will recognize, and select Next.
-
Resources: type the name of each resource, such as "Table 1" or "Garden suite". Select Add resource for each new one. If you leave every resource blank, the category gets one resource with its own name. Select Next.
-
Options: choose How members book and the optional tools described in the next sections, then select Create category.
Use Back to return to a previous step. Once the category exists, select it in the strip and select Category settings to change anything. The window has five tabs: General, Resources, Booking, Hours and On site. Select Save to apply your changes.
2. Choose how members book
On the Booking tab, How members book sets the booking flow of the category:
| Choice | What members do |
|---|---|
| A resource and a time | Pick a resource, such as a suite, and the dates or times. |
| A party size and a time | Give the number of people and a time. The smallest free resource that fits is assigned. |
| A session | Join one of the sessions you schedule. See Sessions. |
| A request to discuss | Send a request, then chat with your team before a date is set, for example for a private lesson. |
Two switches complete the choice:
- Waitlist: members can wait for a full session or time to free up. Only with sessions or party-size booking.
- Non-members: people without a membership can book the resources you open to them and pay by card. Only when members choose a resource and a time. See Prices.
- Book only through onboarding: members no longer see the category; applicants book it in the booking step of an onboarding, for example a discovery visit. Staff still see its reservations in the planning. Cannot be combined with Non-members. See Onboarding forms.
3. Set the booking length and booking window
The rest of the Booking tab sets when and for how long people can book.
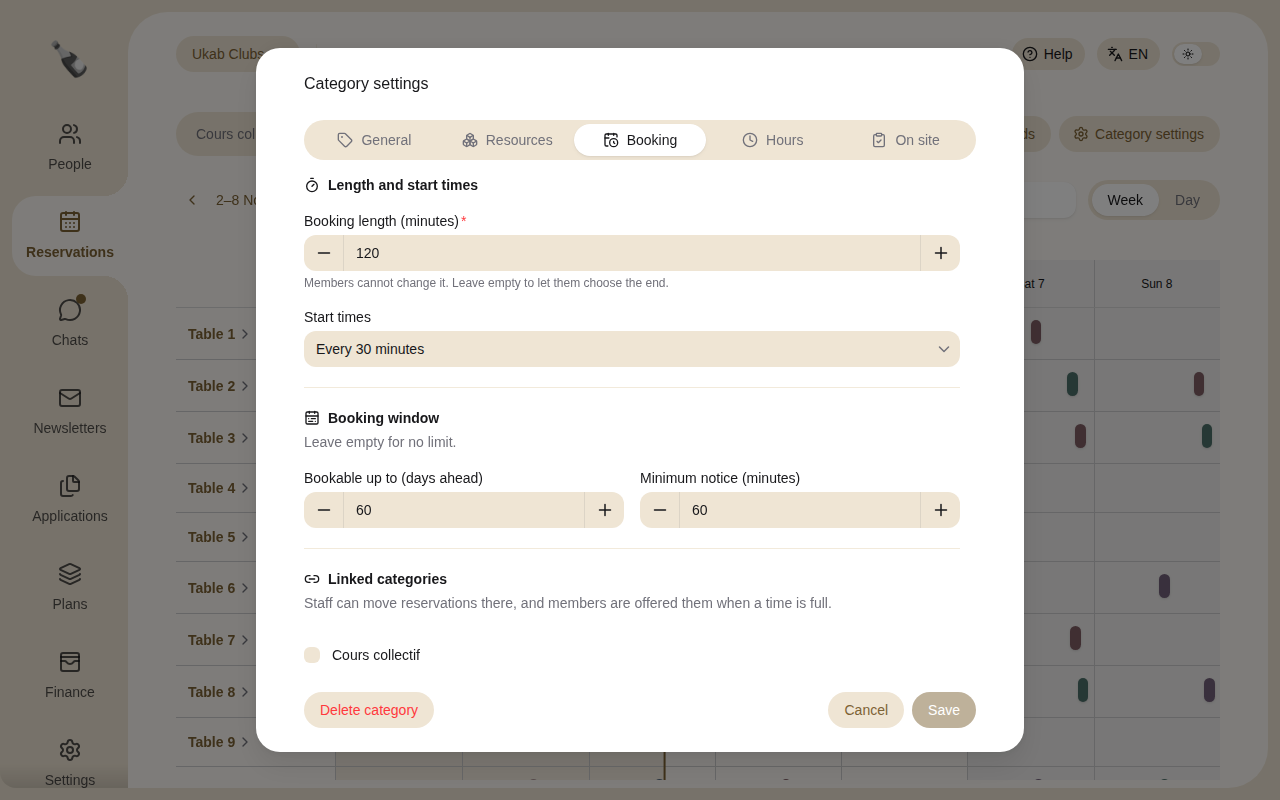
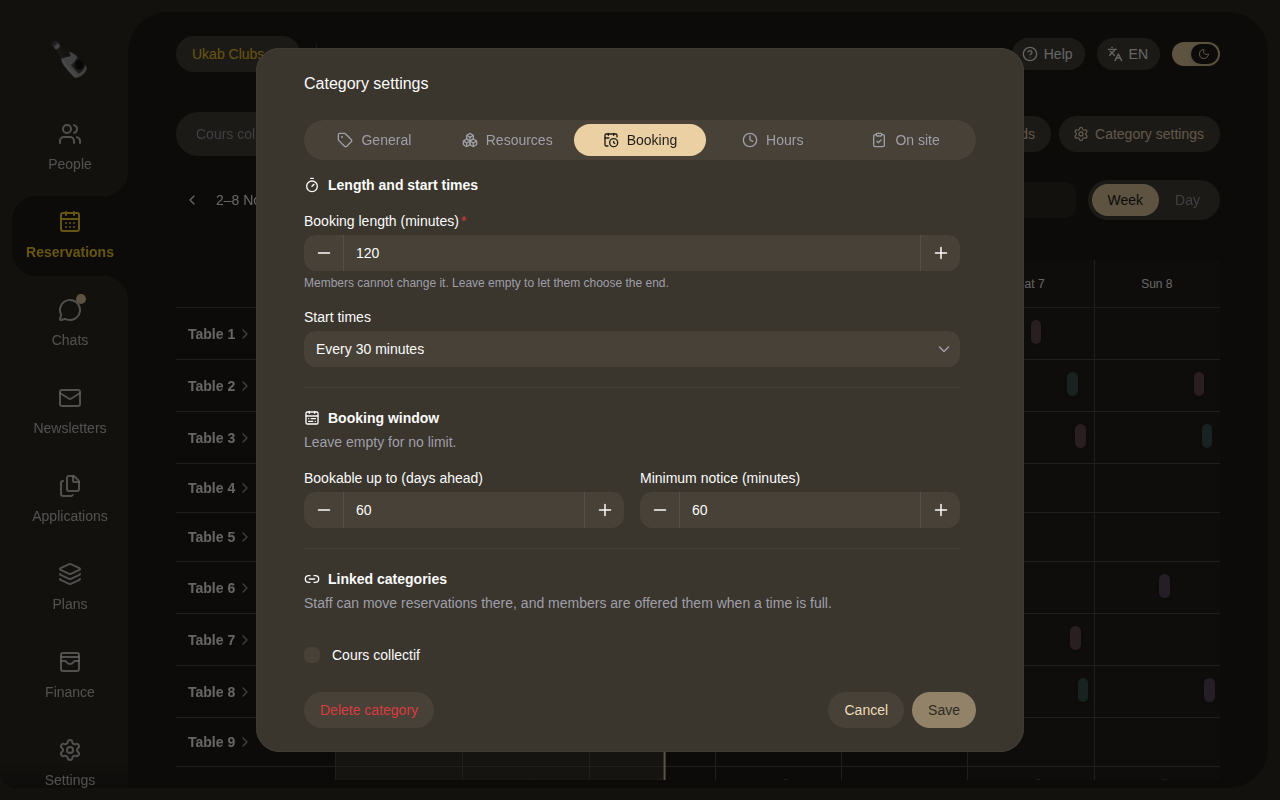
| Setting | What it does |
|---|---|
| Booking length (minutes) | The fixed length of a booking. Members cannot change it. Leave it empty to let them choose the end. Required for party-size booking. |
| Start times | For party-size booking: how often a booking can start, from Every 5 minutes to Every 60 minutes. |
| Bookable up to (days ahead) | How far ahead members can book. Leave empty for no limit. |
| Minimum notice (minutes) | How long before the start a booking must be made. Leave empty for no limit. |
| Linked categories | Other categories a reservation can move to. Staff can move reservations there, and members are offered them when a time is full. |
4. Set the opening hours
On the Hours tab, set the Opening hours of each day. Members and non-members can only book inside these hours. Your team can book at any time.
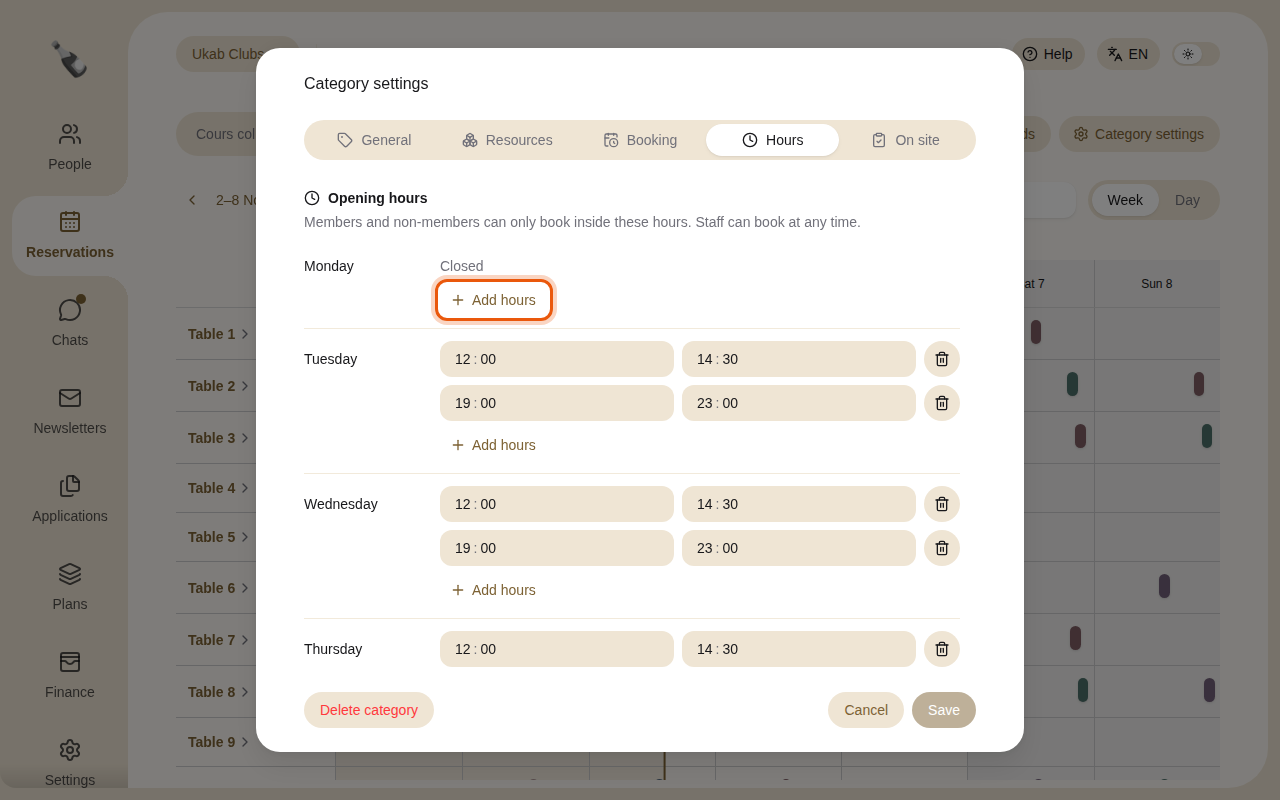
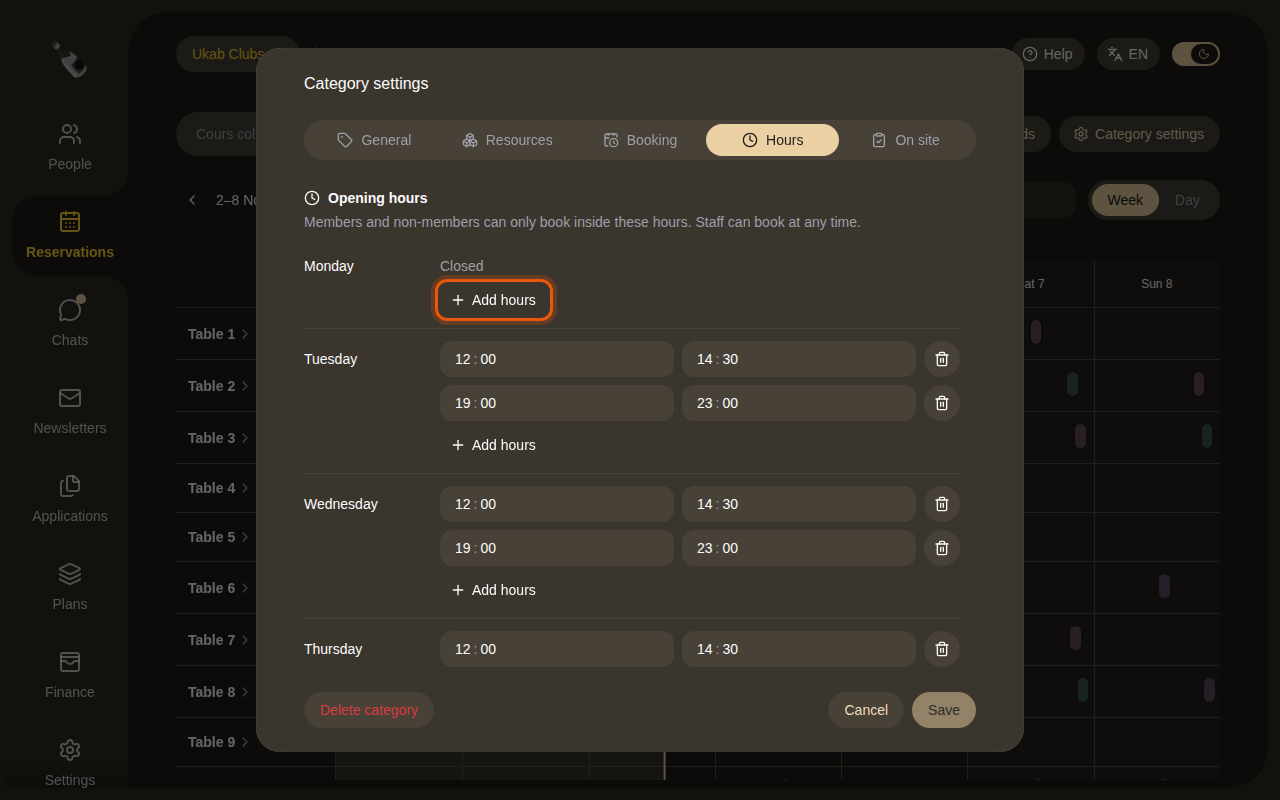
The example restaurant is closed on Mondays and open for lunch and dinner.
- Select Add hours under a day to add an opening and a closing time. A day can have several ranges, such as lunch and dinner.
- Select the bin next to a range to remove it. A day without hours shows Closed.
- When no day has hours, the category shows Open at any time.
5. Turn on the on-site tools
Most tools are on the On site tab of Category settings.
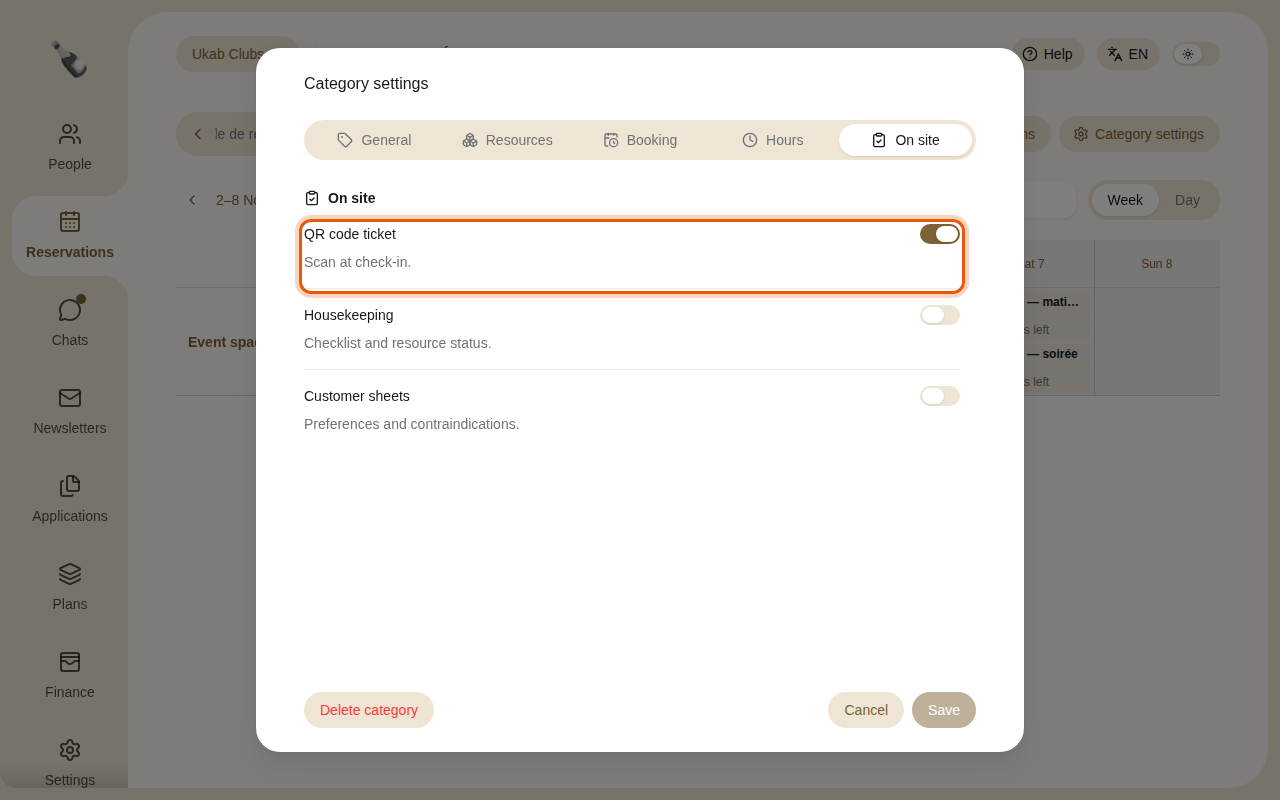
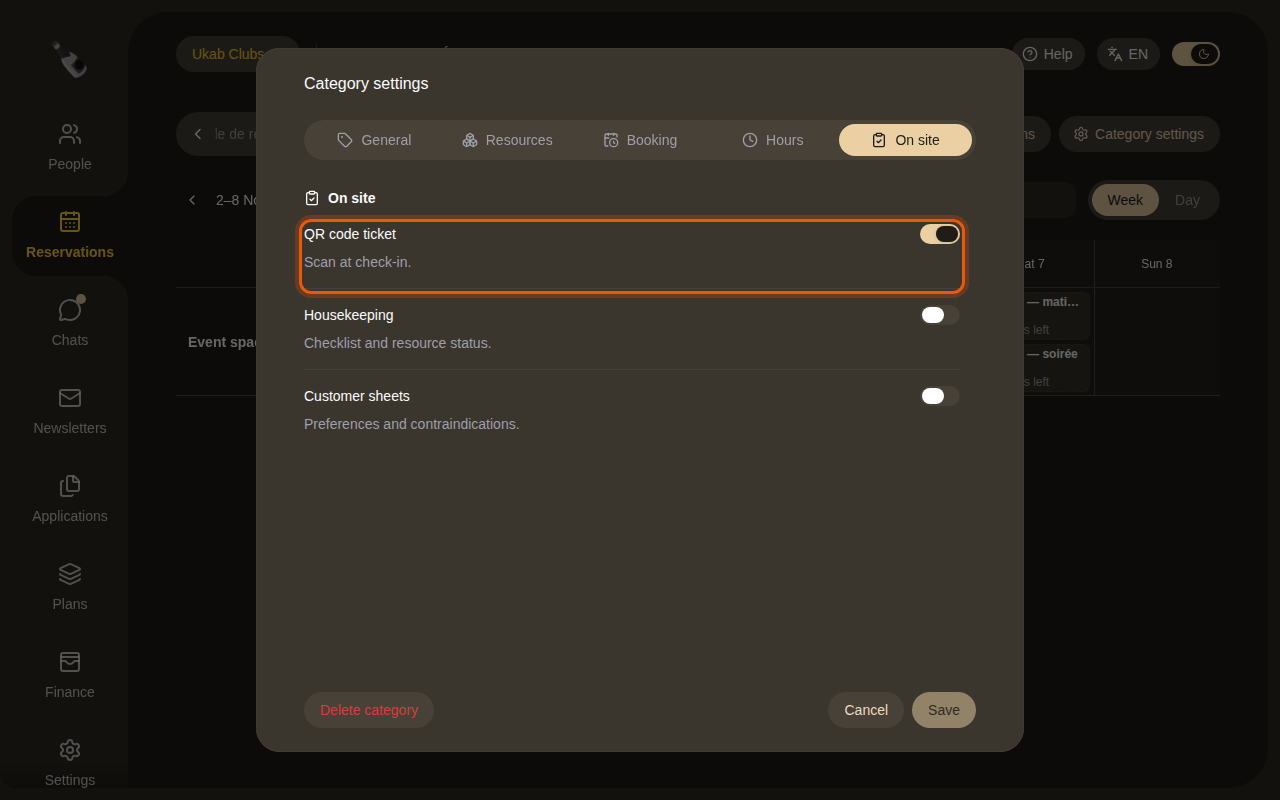
| Where | Switch | What it adds |
|---|---|---|
| Resources tab | Floor plan | A plan of the space under the calendar. See Floor plan editor. |
| On site tab | QR code ticket | A ticket members show at check-in. See Check guests in and out. |
| On site tab | Housekeeping | A checklist and a cleaning status for each resource. See Housekeeping. |
| On site tab | Customer sheets | A sheet for each customer's preferences and contraindications, for example for treatments. |
6. Delete a category
Open Category settings and select Delete category. The window asks you to confirm: the category, its sessions and its blocked periods are deleted, and this cannot be undone. Select Delete category again to confirm.