Club settings
Set your club's address and time zone, member fields, reservation rules and booking categories.
The Settings section holds the rules that apply to the whole club. It is organized in five tabs: Club, Members, Reservations, Payments and Integrations. Each card saves on its own: change a value, then select the Save button of that card.
Settings apply to the club selected at the top left. If you manage several clubs, check its name before you change anything.
1. Set the club's address and time zone
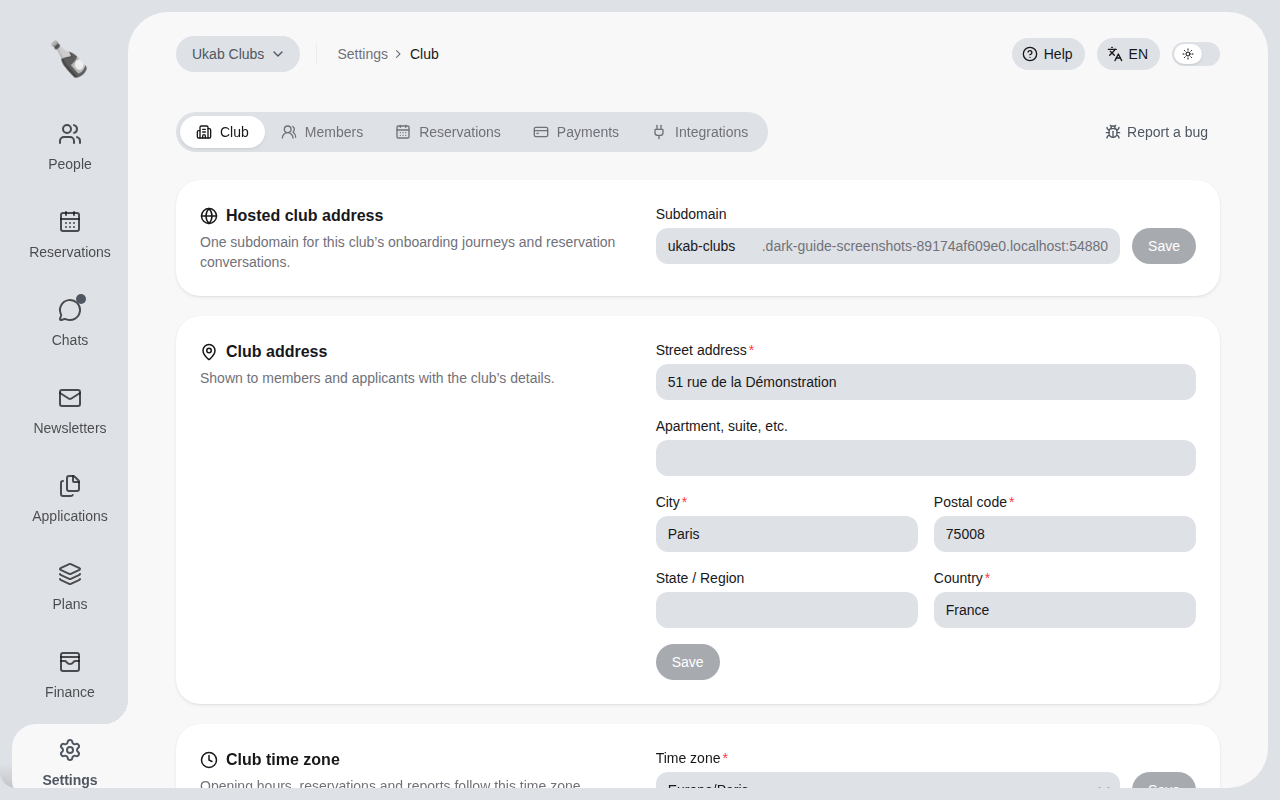
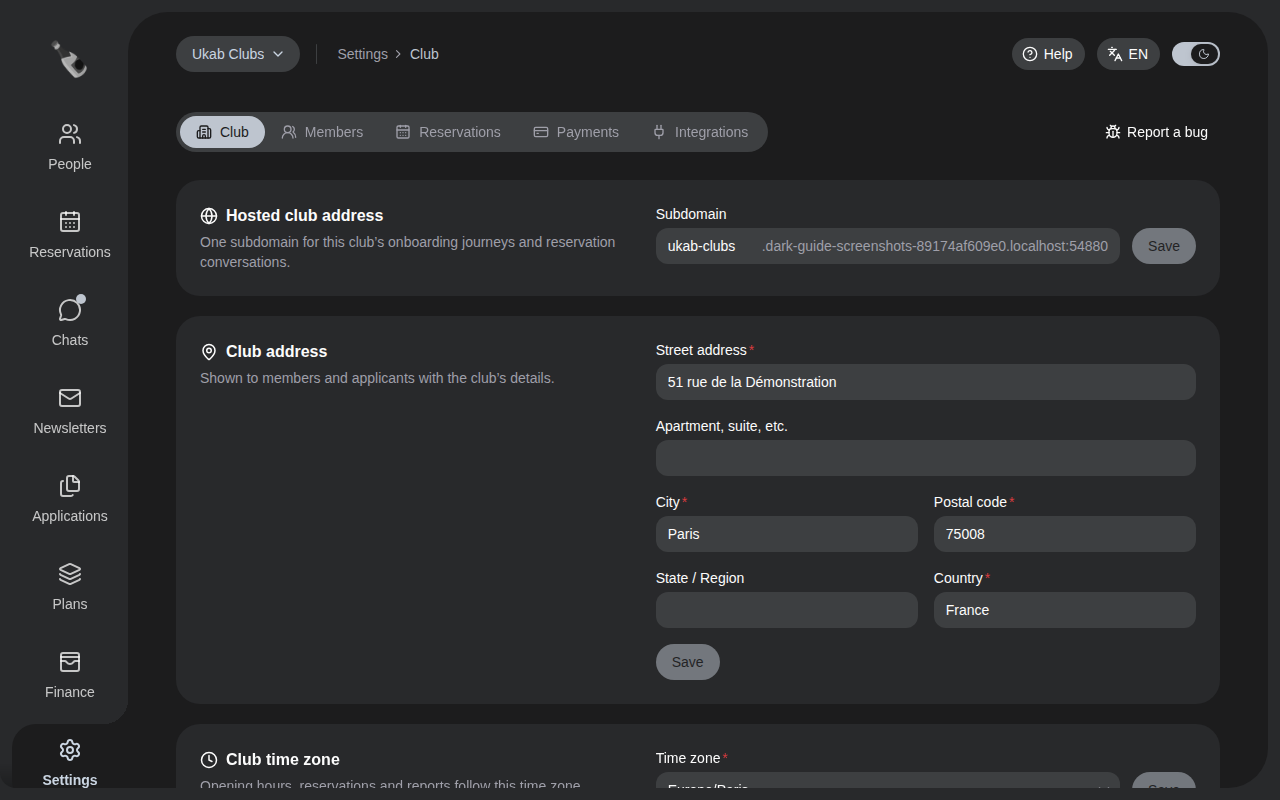
In the left menu, select Settings. The Club tab opens first.
| Card | What it sets |
|---|---|
| Hosted club address | The web address of your club's own sign-up site. See Your club's website. |
| Club address | The address shown to members and applicants with the club's details. |
| Club time zone | The time zone used for opening hours, reservations and reports. Type part of a city name in Time zone to find it fast. |
2. Define member attributes and tags
The Members tab has two cards.
- Member attributes are extra fields kept on every member's profile, such as a preferred language or a profession. Answers given in an application form can fill them in automatically.
- Member tags are labels for your team only, used to group people and filter the People list. Members never see them.
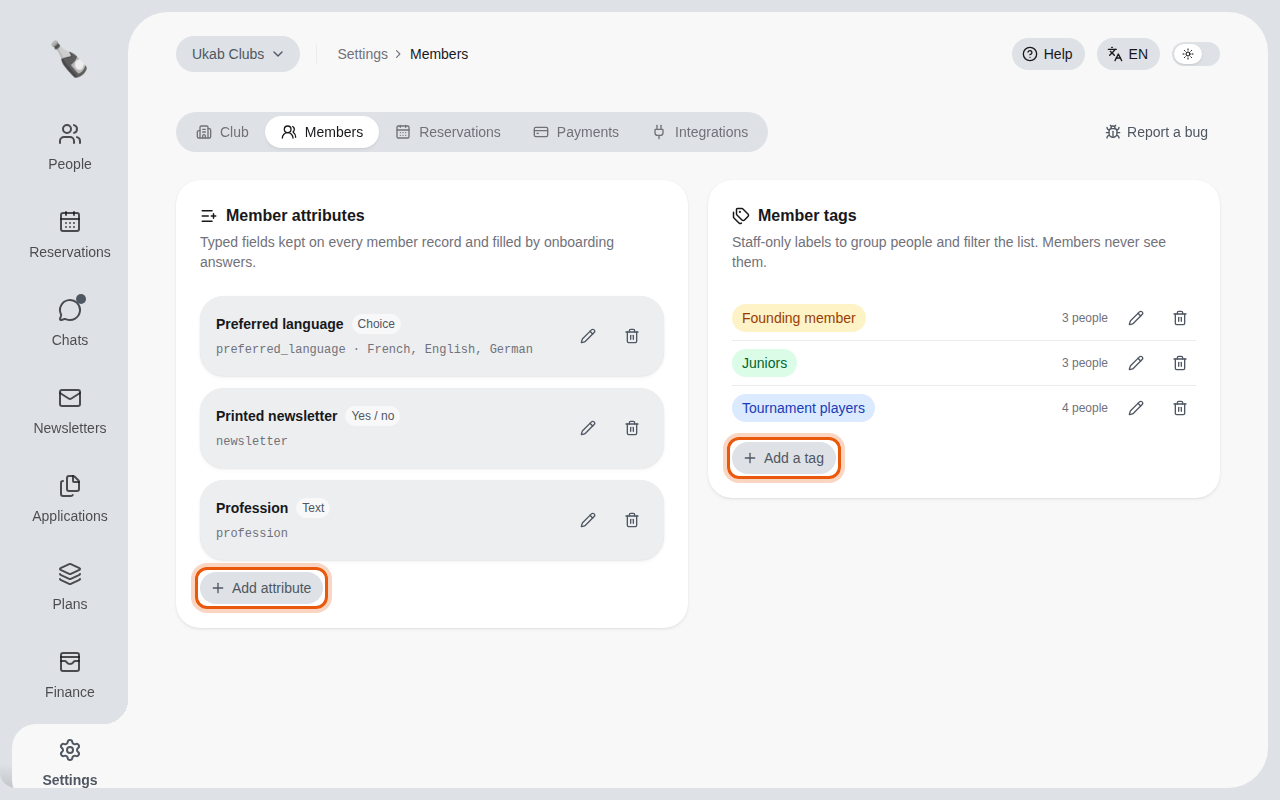
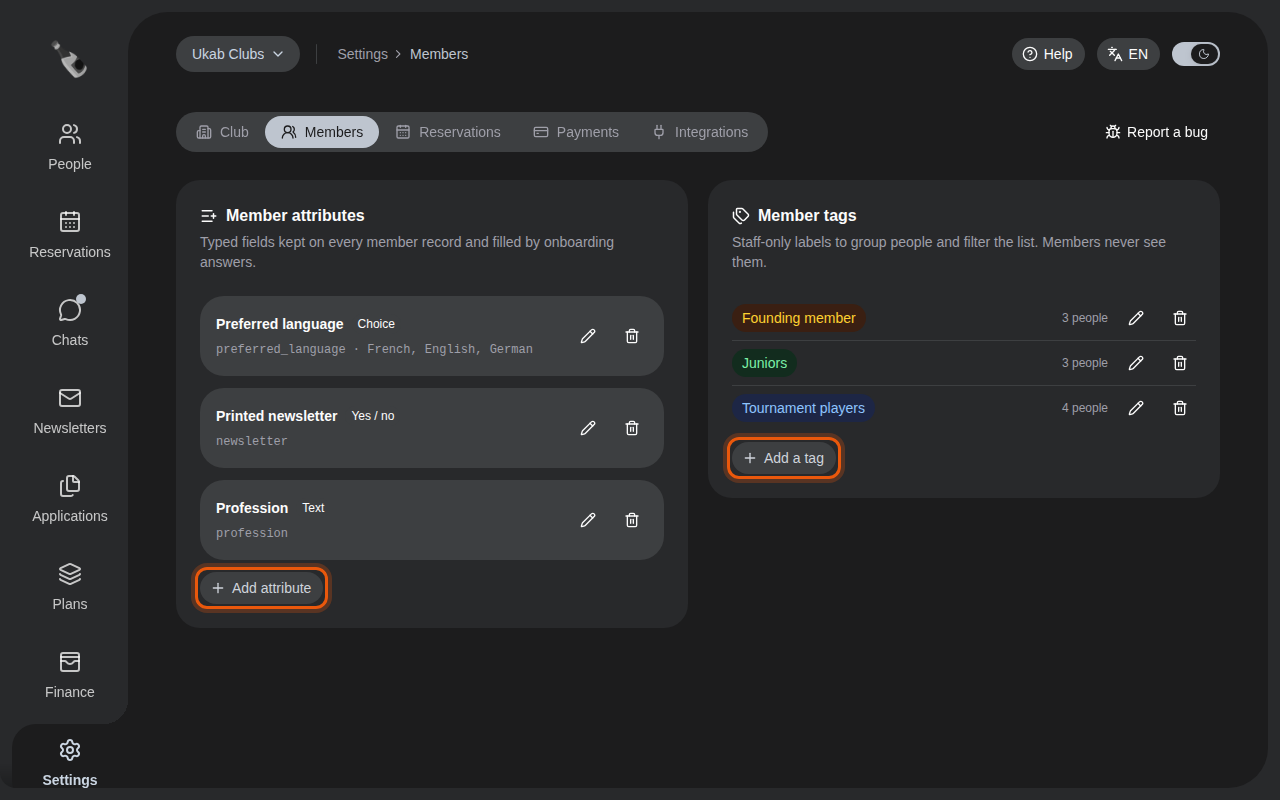
The three example attributes and three example tags of Ukab Clubs. The buttons to use are outlined in orange.
To add an attribute:
- Select Add attribute.
- Enter its Label, for example "Shoe size". A Key is suggested from the label.
- Choose its Type: Text, Number, Date, Yes / no or Choice. For a choice, enter at least two options with Add option.
- Select Save.
To add a tag, select Add a tag, enter its Label and select Save. Each tag shows how many people carry it.
Use the pencil button to rename an attribute or a tag, and the bin button to delete it.
Deleting removes the answers
Deleting an attribute deletes every member's value for it. Deleting a tag removes it from every person who carries it.
3. Set the reservation rules
The Reservations tab holds the rules that apply to every reservation category.
| Card | What it does |
|---|---|
| Reservation guests | Turn on Require guests to create an account if the people a member invites must have an account. The switch applies as soon as you flip it. |
| Security deposits | Refund automatically after: deposits your team has not refunded are returned in full after this number of days. |
| No-show sanctions | Sanctions applied automatically to members who book and do not come. |
To add a no-show sanction:
- Set Counter resets after and select the Save button next to it: a member's no-shows are forgotten after this number of days.
- Select Add rule.
- Enter the number of No-shows that triggers the rule.
- Choose the Sanction: Warn, Suspend, Block bookings or Ban. For a suspension or a booking block, enter the number of Days it lasts.
- Select Save.
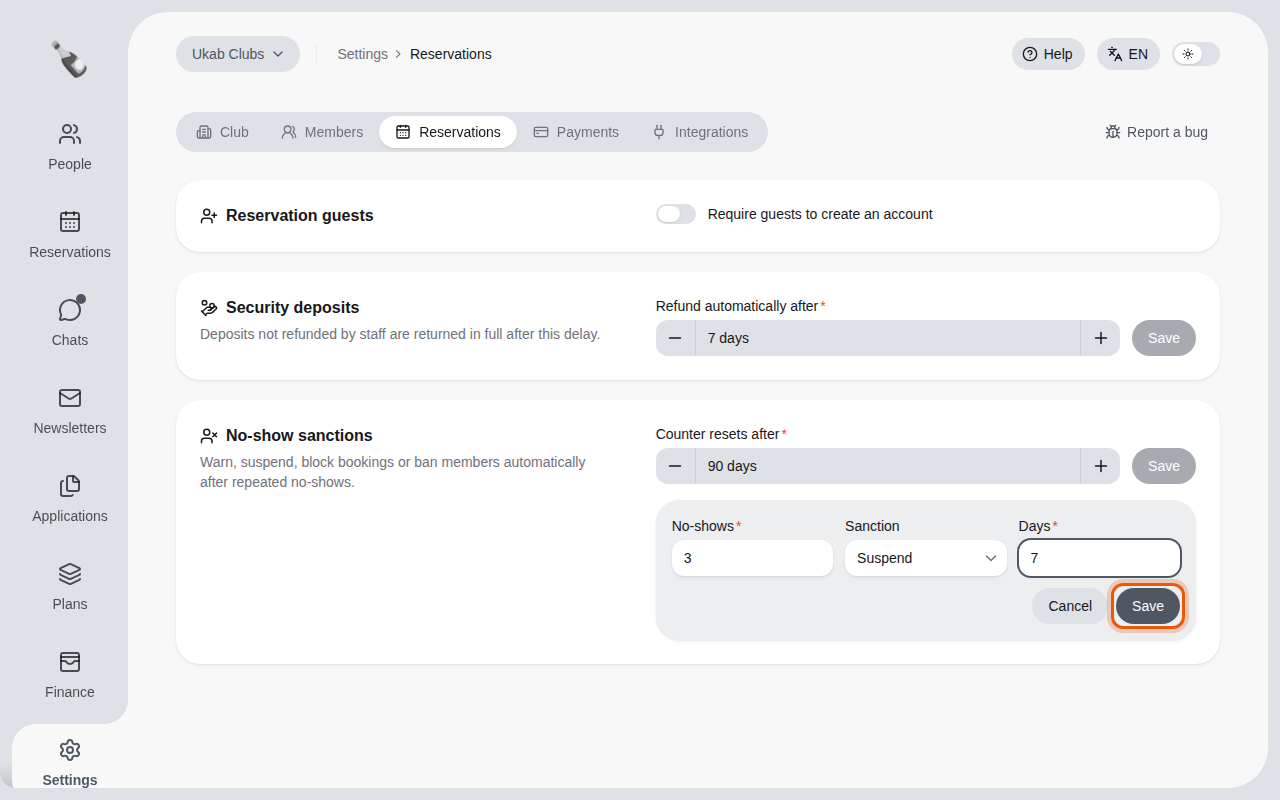
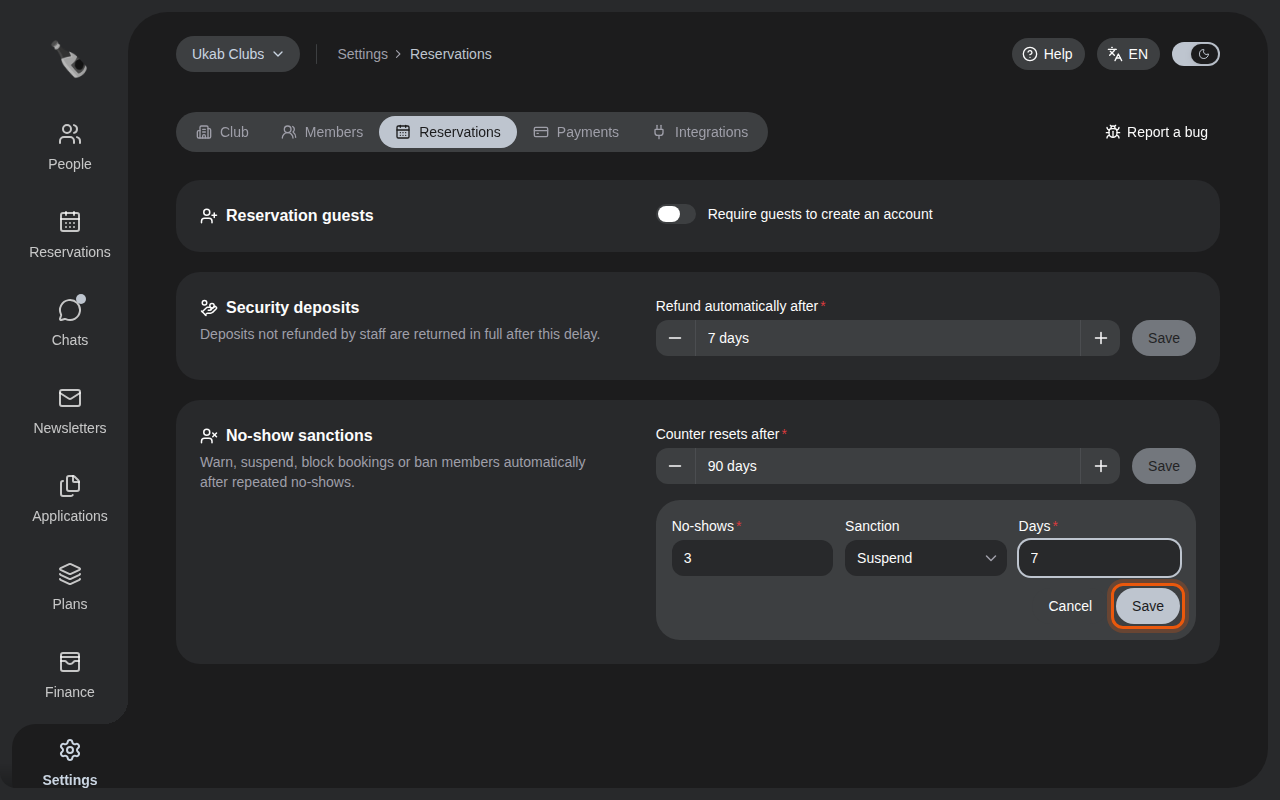
Each rule then appears as a card, such as 3 no-shows with Suspended for 7 days. Add up to ten rules to make sanctions stricter as no-shows add up. Use the pencil button to change a rule and the bin button to remove it.
4. Set up what members can book
Reservation categories, such as a restaurant, a room or a group class, are set up from the Reservations section. Each thing that can be booked in a category, such as a table or a coach, is a resource.
- To create a category, select the + button at the end of the category strip.
- To change a category, open it and select Category settings.
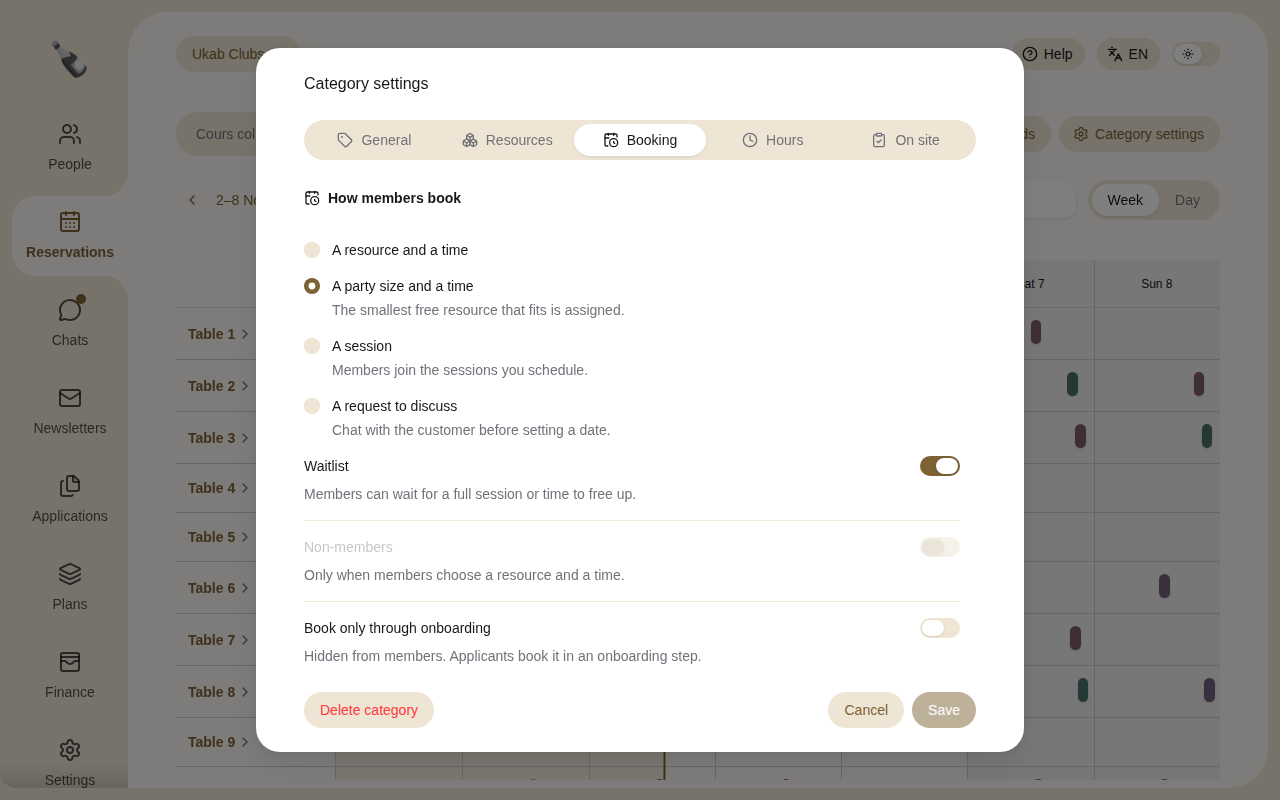
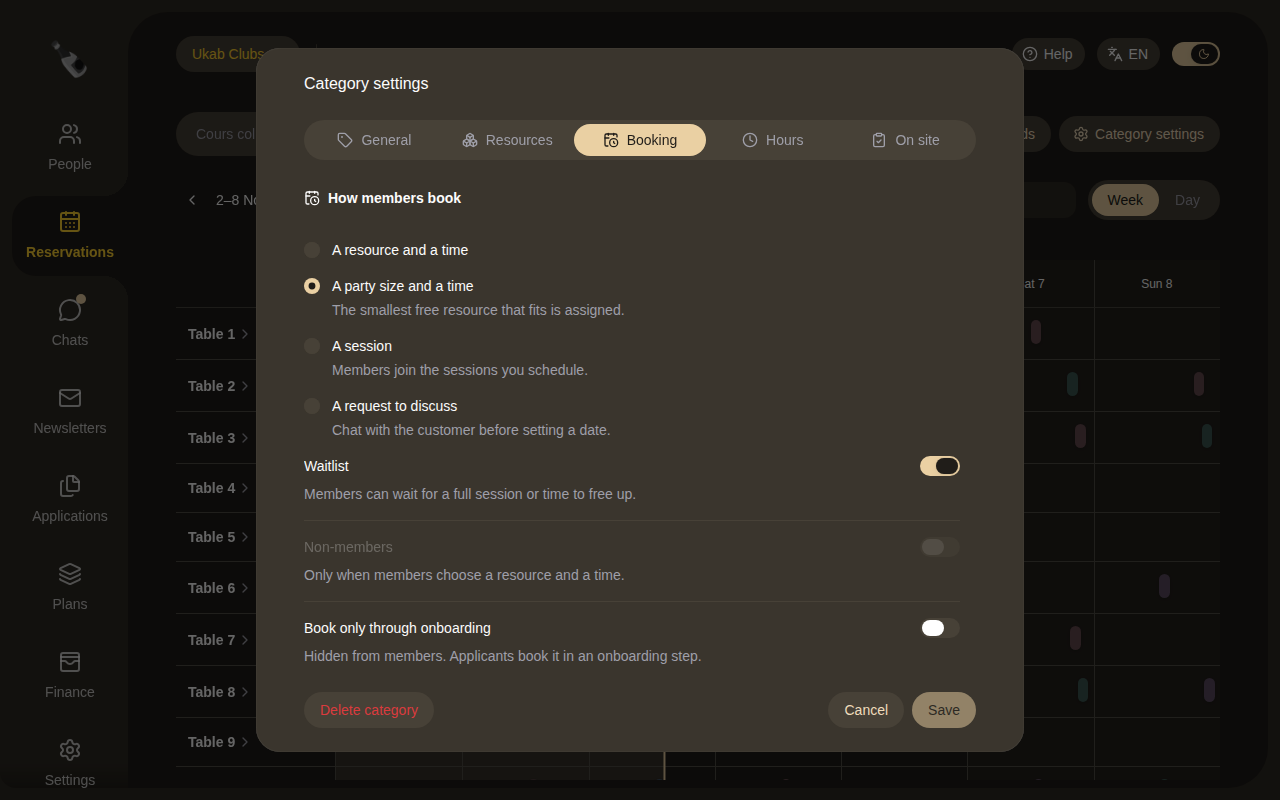
The Category settings dialog has five tabs: General, Resources, Booking, Hours and On site. Booking rules and opening hours are explained step by step in Set up reservation categories, prices and products in Resources, prices and products, and sessions in Sessions, guest lists and blocked periods. To draw the plan of a space, see Floor plan editor.
5. Other settings
| Where | Card | What it is for |
|---|---|---|
| Payments tab | Stripe merchant | Connects the club to online payments. See Payments. |
| Payments tab | Club credits | Names your credits and sets their value. See Payments. |
| Integrations tab | Newsletter sending | The Sending domain, Sender name and Sender address of your newsletters. See below. |
| Integrations tab | Webhook endpoints | For your technical provider: sends club events to other systems. See below. |
| Integrations tab | API tokens | For your technical provider: lets a tool such as Terraform manage the club's configuration. Only administrators see it. Each token gets its own Permissions (the areas it reaches), one Access level, an Expiration date (optional) and, with Hide personal data, reads guest names anonymized, and is shown once, when you create it. The ⋯ menu on its row offers Block, Unblock and Delete. |
| Report a bug, top right | - | Describe a problem to the Champagne team: Title, What happened? and What were you doing?, then Submit bug report. Do not include passwords. |
Send newsletters from your own address
To send newsletters from your own address, open the Integrations tab, enter a Sending domain reserved for newsletters, a Sender name and a Sender address, and select Set up. Select Show DNS records to see the records to add: give them to whoever manages your domain name. Once they are added, select Check again. The card shows Waiting for DNS until the records are found, then Verified. Your team can then send newsletters as described in Newsletters.
Connect other systems with webhooks
A webhook lets Champagne notify another system, such as your own website, each time something happens in your club. Your technical provider gives you the address to use. You can connect up to 10 systems, each with its own address, events and signing secret.
- On the Integrations tab, under Webhook endpoints, select Add endpoint. Enter the Webhook URL, choose the Events to send and select Save. The endpoint appears in the list with its signing secret: your provider uses it to check that messages really come from Champagne.
- Open the ⋯ menu of an endpoint and select Reveal secret to show its secret again and pass it on to your provider, then Hide secret. Each reveal is recorded in your activity history.
- In the same menu, select Send a test. Test webhook delivered. means the other system received it. Test webhook not delivered means the other system did not accept it: the message gives the reason to pass on to your provider.
The same menu also offers Edit, to change the address or the events, Pause, to stop sending to that system until you select Resume, and Delete. Events that happen while an endpoint is paused are not sent later.
If a secret may have been shared by mistake, select Reset secret in the menu of that endpoint and confirm in the Reset signing secret? window. The previous secret stops working at once: give the new one to your provider. The other endpoints keep their secret.