Create an object
Describe an object, review its drawing and add it to your floor plan.
Create custom artwork for furniture, fixtures and other features of your space. Start with a clear object name, then refine the preview until it suits your plan.
1. Describe the object
In the floor-plan editor, open the Cosmetic tab in the Object library and select the Create object plus button. Enter an Object name.
Use a short description of one object. Useful examples include:
- Lounger
- Round table
- L-shaped sofa
- Rectangular swimming pool with steps
Champagne supplies the drawing instructions: a top-down view, flat colors and simple outlines. Include a feature in the name when it matters to the object.
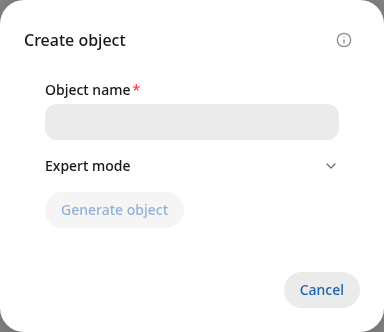
2. Generate the preview
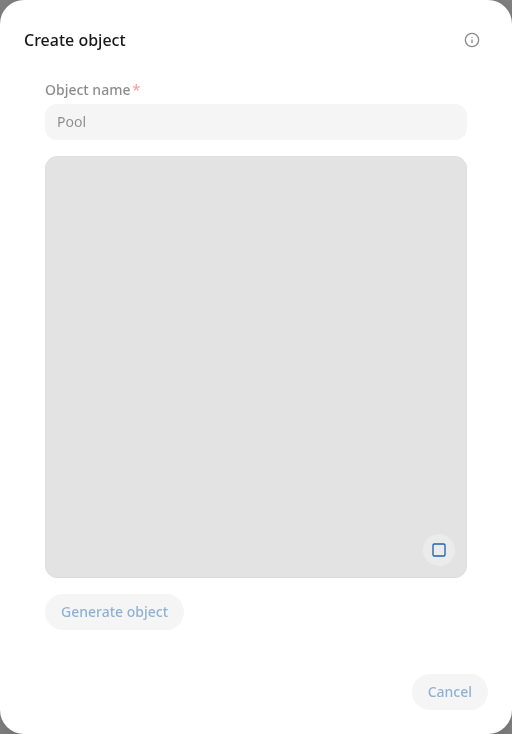
Select Generate object. The preview area shows that work is in progress while Champagne draws the object and converts it into editable shapes.
Keep the dialog open while it works. Use Cancel generation to stop the current request. A fresh generation can produce a different interpretation of the name.
Loading diagram...
Diagram source
flowchart TD
  accTitle: Create an object
  accDescr: Enter a name, generate a drawing, convert it to shapes, review it and create a library object.
  Name[Enter the object name] --> Generate[Choose Generate object]
  Generate --> Draw[Champagne draws the object]
  Draw --> Vector[Convert the drawing into shapes]
  Vector --> Review[Review the preview]
  Review --> Choice{Happy with the result?}
  Choice -->|Yes| Create[Choose Create]
  Choice -->|Adjust an edge or feature| Brush[Use Magic brush]
  Brush --> Review
  Choice -->|Try another drawing| Generate
3. Check the drawing
Look at the outline, proportions and important details. For a lounger, check its backrest and arms. For a pool, check the steps and the shape of its edge.
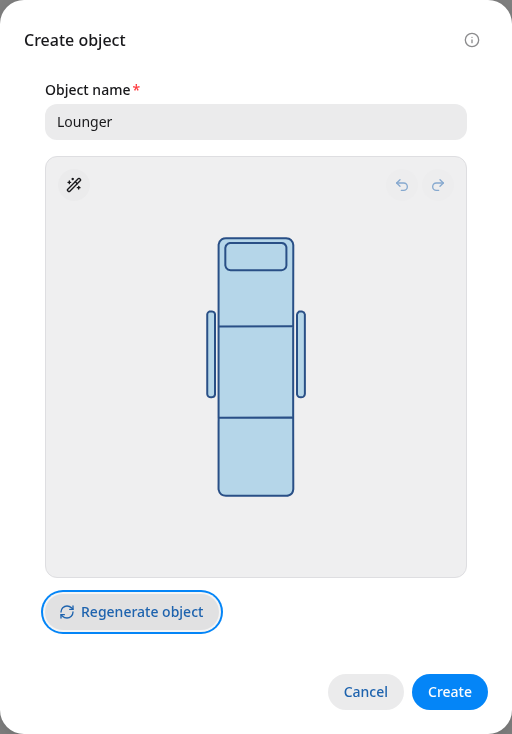
An example lounger in the preview. Create adds the accepted drawing to your library.
Choose Regenerate object for another drawing, or use Magic brush for a targeted adjustment. Undo edit and Redo edit let you compare successful versions during the current editing session.
Keep the object name unchanged while comparing versions. Changing the name starts a fresh preview history for the new subject.
4. Place it on the plan
Select Create to add the artwork to your library. Choose the object from the library and place it on the canvas, then adjust its size and rotation. Select Save plan when the layout is ready.
Custom artwork created through this dialog is decorative. Use the Reservables tab to place items associated with reservation resources.
Getting a clearer result
Choose a recognizable object name and include only the structural details you need. Large, simple shapes usually remain easier to read at floor-plan scale. If tiny details become cluttered, try a simpler name and regenerate.
The vectorizing guide explains how the drawing becomes smooth shapes and what Auto-lines changes.