# Invite your team
Give a colleague access to the back office and choose what they can see and do.
Source: https://docs.champagne.dev-ukab.fr/en/guide/admins/invite-your-team
Each person on your team signs in with their own staff account. You create it by sending
an invitation from the **Team** section. You choose which clubs they work for and what
they are allowed to do there.
## 1. Open the Team section [#1-open-the-team-section]
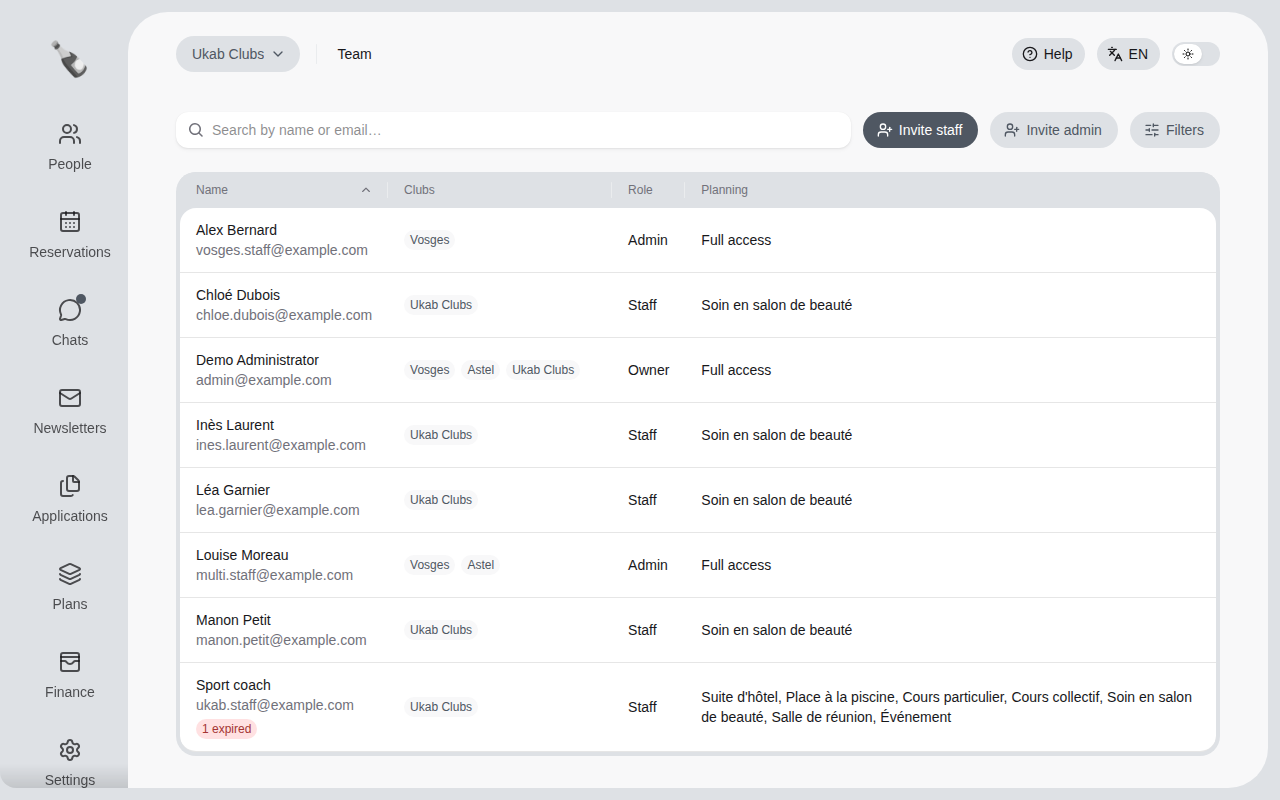
In the left menu, select **Team**. The list shows everyone with access to your clubs:
their **Clubs**, their **Role** and the **Planning** categories they can see.
The example team of Ukab Clubs and its sister clubs.
There are three [roles](/en/guide#role):
| Role | What they can do |
| --------- | -------------------------------------------------------------------- |
| **Owner** | The account that owns your clubs. Full access. |
| **Admin** | Everything, in the clubs they are assigned to. |
| **Staff** | Only the tasks you tick for them, in the clubs they are assigned to. |
## 2. Invite a staff member [#2-invite-a-staff-member]
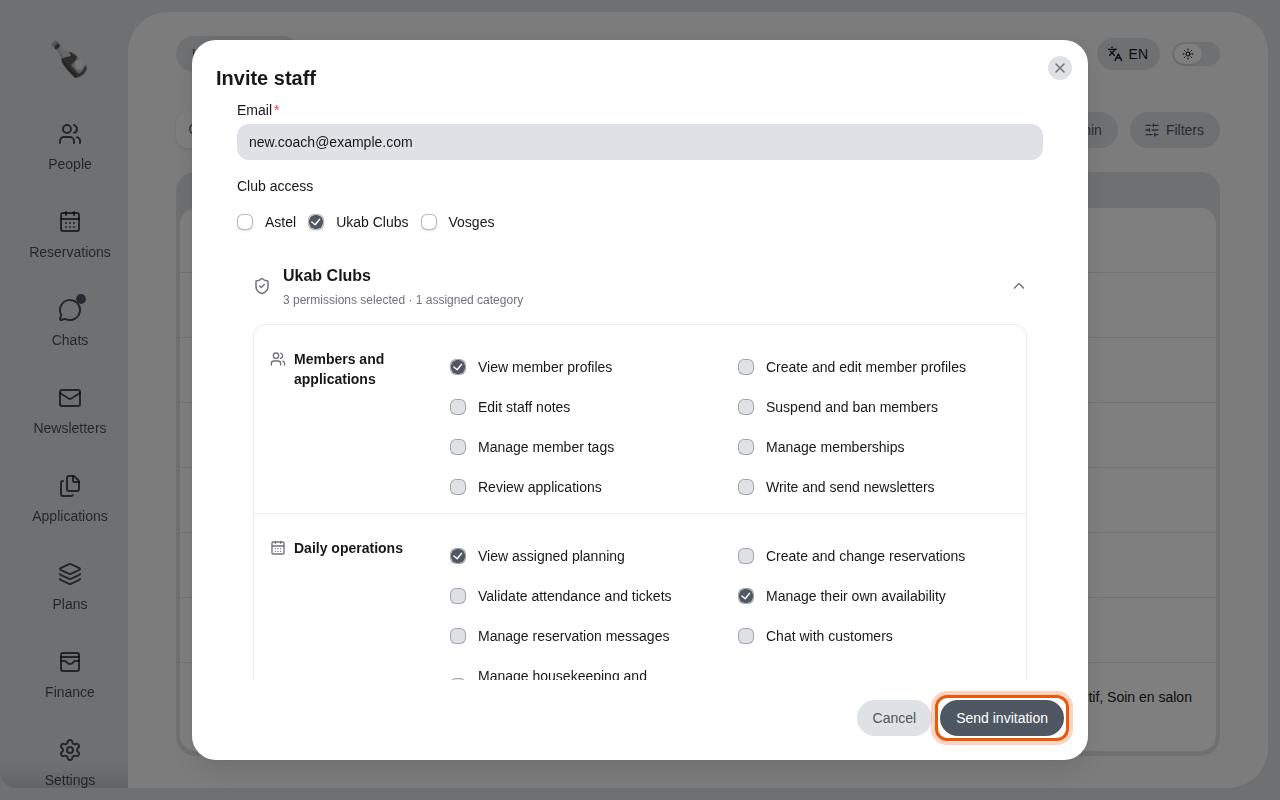
Select **Invite staff**.
1. Enter their **Email**.
2. In **Club access**, tick each club they work for.
3. For each club, tick what they may do. Permissions are grouped by topic: **Members
and applications**, **Daily operations**, **Finance** and **Club configuration**.
4. In **Accessible planning categories**, tick the activities whose planning they
should see, such as private lessons for a coach.
5. Select **Send invitation**.
Inviting an example coach who can view member profiles, see their planning and set their own
availability.
> Give only the permissions the person needs today. You can add more at any time by opening their
> line in **Team**, and changes apply as soon as you save. [Who sees
> what](/en/guide/admins/who-sees-what) lists what each permission shows.
To give someone full access, select **Invite admin** instead and tick their clubs.
## 3. What your colleague receives [#3-what-your-colleague-receives]
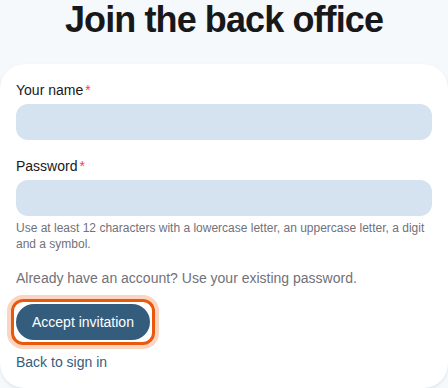
Your colleague receives an email with an invitation link. The link opens a **Join the
back office** page where they enter their name, choose a password and select **Accept
invitation**. They can then [sign in](/en/guide/staff/getting-started).
The page an invitation link opens.
Until they accept, their line in **Team** shows **Invitation pending**. To withdraw an
invitation, select the envelope icon with a cross next to that label: its tooltip reads **Cancel
invitation**. An invitation that was never accepted eventually shows **Invitation expired**: send a new one.
To change a colleague's access later, add their professional documents or remove them
from your team, see [Manage your team](/en/guide/admins/manage-your-team).